
Composting at home turns kitchen scraps and yard waste into nutrient-rich soil. This guide gives clear, practical steps to set up and maintain a home compost system.
Home Composting Basics
Compost is decomposed organic matter used to improve soil structure and fertility. Home composting reduces household waste and supports healthier plants.
Why Choose Home Composting
It lowers landfill waste and cuts greenhouse gas emissions from food scraps. It also creates free soil amendment for gardens and potted plants.
Composting one ton of organic waste can reduce methane emissions by as much as 1.2 tons of CO2 equivalent compared with landfilling that material.
What to Compost at Home
Successful home composting depends on a balance of carbon-rich and nitrogen-rich materials. Aim for a mix of browns (carbon) and greens (nitrogen).
Examples of Browns and Greens
- Browns: dry leaves, straw, cardboard, shredded paper, sawdust.
- Greens: fruit and vegetable scraps, coffee grounds, fresh grass clippings, tea bags.
Avoid meat, dairy, oily foods, diseased plants, and pet waste in typical backyard systems. These items attract pests and can cause odors.
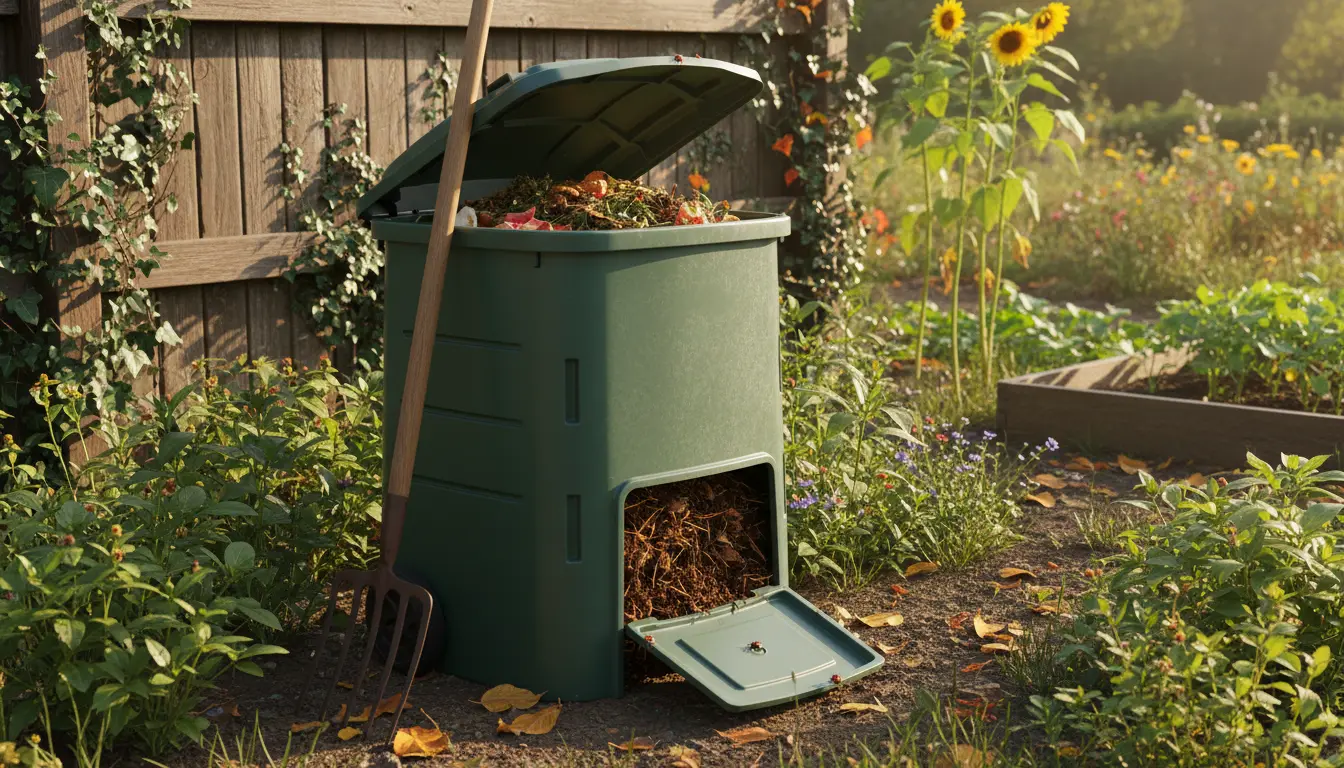
Choosing a Home Compost Bin
Select a container that fits your space and workload. Options include tumblers, enclosed plastic bins, simple wooden bins, or open piles.
Bin Types and Pros/Cons
- Tumbler: faster turning, cleaner, higher cost, best for small yards.
- Plastic bin: inexpensive, contained, limited air flow, good for beginners.
- Wooden bin or open pile: low cost, scalable, needs more management and protection from pests.
Step-by-Step: How to Start a Home Compost Bin
Follow these basic steps to get your compost bin working efficiently. Keep tasks simple and consistent for best results.
- Choose a location with partial shade and good drainage.
- Start with a layer of coarse browns like small branches or straw to aid airflow.
- Add green materials, then cover with a layer of browns. Aim for roughly 3:1 browns to greens by volume.
- Keep the pile moist like a wrung-out sponge. Too wet causes smell; too dry slows decomposition.
- Turn or mix the pile every 1–2 weeks to add oxygen and speed breakdown.
Monitoring Temperature and Moisture
A hot pile (120–160°F / 49–71°C) breaks down material faster and kills many weed seeds. Outdoor home piles often run cooler but still decompose effectively.
Use a compost thermometer if you want to manage heat. Otherwise, check moisture by squeezing a handful of material: it should feel damp but not dripping.
Troubleshooting Common Problems
Small issues are normal and fixable with simple adjustments. Most problems come from imbalanced materials, poor aeration, or incorrect moisture.
Common Issues and Fixes
- Foul odors: Add more browns, turn the pile, and reduce moisture.
- Slow decomposition: Increase green content, chop material smaller, and turn more often.
- Pests: Avoid meat/dairy, use a closed bin, or add a heavy layer of browns to cover new scraps.
Using Finished Compost
Finished compost looks dark, crumbly, and earthy. Use it to topdress lawns, mix into garden beds, or blend with potting mix for containers.
Apply a 1–2 inch layer to garden beds or mix one part compost to two parts soil for planting. Compost improves water retention and nutrient availability over time.
Small Real-World Case Study
Case Study: A two-person household started a 50-liter tumbler and added kitchen scraps and shredded paper for six months. They turned the tumbler weekly and kept materials moist.
Results: After six months they harvested about 30 liters of usable compost. Their house waste to landfill dropped by an estimated 25 percent, and potted vegetables showed improved growth in the second season.
Practical Tips to Keep Going
Keep a small counter container for scraps and empty it into the bin daily. Shred or chop large pieces to speed decomposition.
- Start small and scale up as you gain confidence.
- Use a mix of material types rather than just one source.
- Label bins and keep a simple log of turning and moisture checks.
Final Steps and Next Actions
Set a simple routine: collect scraps, add to bin, cover with browns, and turn weekly. Small, steady efforts produce reliable compost over months.
Once you have finished compost, try it on a small bed first and observe plant response. Adjust quantities as you learn what works in your garden and climate.
Composting at home is a low-cost, practical way to reduce waste and enrich your soil. Start with manageable steps and refine your routine over a few cycles.