
Why composting at home matters
Composting at home reduces household waste, improves soil, and saves money on fertilizers. It is a low-cost, practical way to close the loop on organic materials.
Even small households can cut landfill waste substantially by composting food scraps and yard trimmings. The result is nutrient-rich soil you can use in pots, beds, or around trees.
How to start composting at home: basic steps
Starting composting at home requires a bin or pile, a mix of materials, and occasional maintenance. Follow these simple steps to get started and keep things working.
- Choose a container or pile location that drains and has partial shade.
- Collect a balance of greens (nitrogen) and browns (carbon).
- Layer materials, keep the pile moist, and turn occasionally.
Choosing a composting method
There are several options for composting at home. Pick the one that fits your space and time.
- Tumbler: Good for speed and cleanliness, ideal for small yards or patios.
- Open pile or bin: Simple and low-cost, works well for larger gardens.
- Bokashi or worm bin (vermicompost): Best for indoor or small-space composting, and for processing cooked food.
Compost ingredients: greens and browns
Balance is key to successful composting at home. Aim for a mix of green and brown materials to support decomposition.
- Greens: kitchen scraps, fresh grass clippings, plant trimmings. These provide nitrogen.
- Browns: dry leaves, shredded paper, cardboard, straw. These provide carbon and structure.
- Tip: Aim for roughly three parts browns to one part greens by volume.
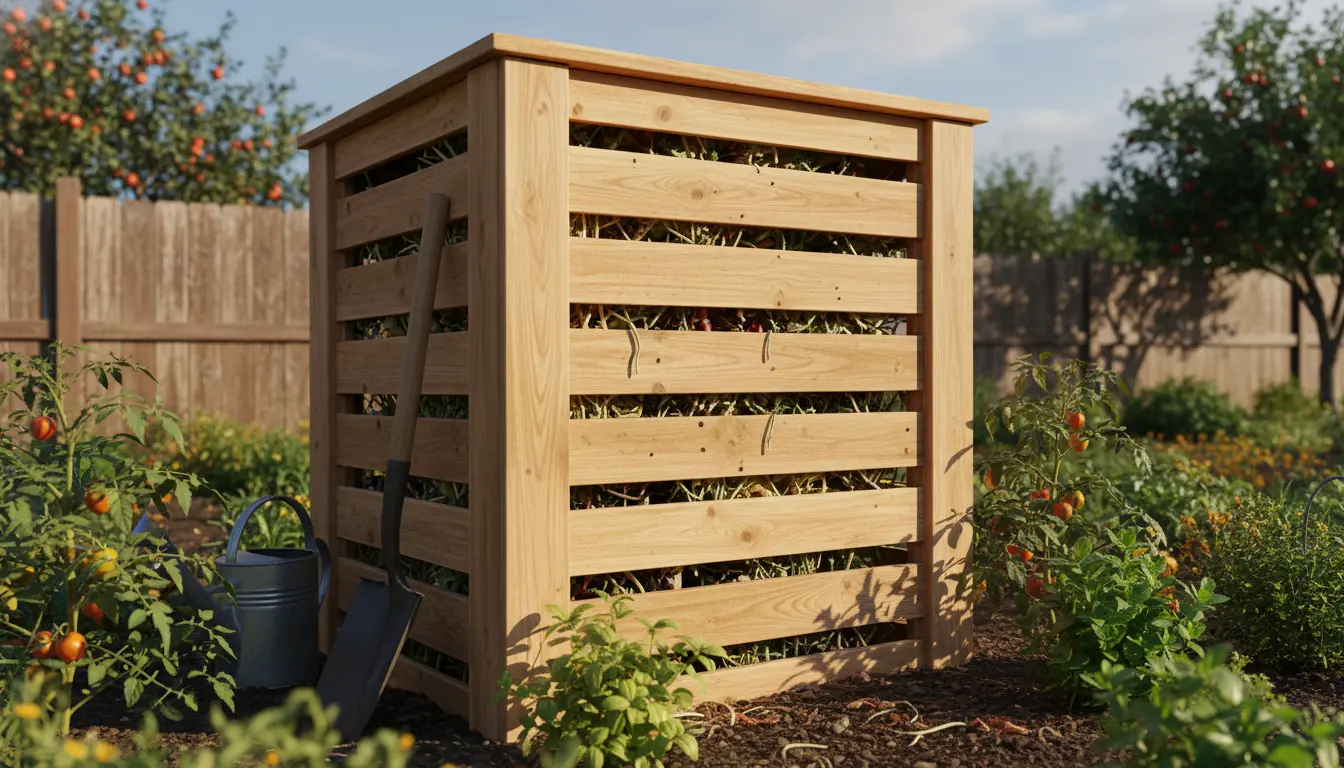
Setting up your home compost system
Select a bin size that fits the volume of organic waste you produce. A 3×3 foot pile is a common recommendation for efficient breakdown.
Place the bin on soil if possible to allow beneficial organisms to enter. If you use a tumbling bin, ensure it has drainage and air vents.
Layering and moisture
Start with a layer of coarse browns to help airflow. Alternate greens and browns in layers to avoid compacting the pile.
Keep the pile moist like a wrung-out sponge. Too dry and decomposition slows; too wet and the pile smells.
Troubleshooting common problems in composting at home
Issues can happen, but they are usually easy to fix. Here are common problems and solutions.
- Bad odor: Add more browns and turn the pile to introduce air.
- Pile too dry: Add water and more greens, then turn to mix.
- Pile not heating: Increase the pile size, add more greens, and insulate if cold.
- Pests: Avoid putting meat, dairy, or oily foods in open bins; use closed bins or bokashi for those items.
Fast-start 30-day plan for composting at home
Follow this simple monthly plan to build an effective compost system and see progress within a month.
- Days 1-3: Set up your bin and start a base layer of browns for drainage.
- Days 4-10: Add alternating layers of greens and browns. Aim to add material regularly rather than all at once.
- Days 11-20: Monitor moisture and turn the pile twice. Check temperature—active piles will feel warm inside.
- Days 21-30: Continue feeding, turning weekly, and drying or wetting as needed. Expect partial breakdown and a crumbly texture in some areas.
Composting at home can reduce household waste by up to 30 percent. Finished compost improves soil structure and water retention, cutting irrigation needs.
Small case study: A family that started composting at home
Case: A four-person household began a simple bin in spring and used a backyard tumbler. They saved kitchen scraps and layered them with shredded paper and dry leaves.
Within six months they had rich compost for their vegetable beds. They reduced their trash output and reported healthier tomatoes the following season.
Using finished compost at home
Finished compost looks dark, crumbly, and earthy. Use it to top-dress lawns, enrich potting mixes, or work it into garden beds.
Apply a thin layer to containers or mix one part compost with two parts soil for planting. This improves fertility and structure without over-fertilizing.
Quick checklist for composting at home
- Choose a method: tumbler, bin, pile, worm bin, or bokashi.
- Collect and balance greens and browns.
- Keep moisture like a wrung-out sponge.
- Turn the pile to add oxygen every 1–2 weeks.
- Avoid meat, dairy, and oily foods in open systems.
Final tips for long-term success
Start small and scale up as you learn. Consistency matters more than perfect ratios.
Keep a small kitchen caddy for scraps to make feeding the bin convenient. Regular attention prevents odors and pests and speeds compost production.
Composting at home is practical, inexpensive, and beneficial for your garden and the environment. Follow these steps, and you will turn waste into a resource in weeks, not years.