
Home Composting Basics
Home composting is a simple way to turn kitchen and yard waste into useful soil amendment. The process reduces landfill waste and supplies nutrient-rich compost for gardens and potted plants.
This guide explains practical steps to start home composting, the materials to use, common problems, and a short real-world example to get you started quickly.
Choose a Method and Container for Home Composting
Select a composting method that fits your space and routine. Common options include backyard bins, tumblers, and small indoor bokashi or worm bins for apartments.
- Backyard bin: Good for yards, higher capacity, low cost.
- Tumbler: Easier turning, faster decomposition, more control.
- Worm bin (vermicompost): Best for apartments and small kitchens, produces liquid and castings quickly.
- Bokashi: Fermentation method for food scraps, works indoors, follow with soil burial or composting.
Placement and Size
Place the bin on soil or a well-drained surface to allow drainage and access for microbes. Choose a size that matches your household waste — a 40–80 liter bin is often enough for a small family.
Home Composting Materials: Browns and Greens
Compost works best when you balance carbon-rich “browns” and nitrogen-rich “greens.” Browns provide structure and carbon; greens supply nitrogen for microbes.
- Greens: Vegetable scraps, coffee grounds, fresh grass clippings, tea bags.
- Browns: Dry leaves, shredded paper, cardboard, straw, sawdust (small amounts).
A good rule is roughly 3 parts browns to 1 part greens by volume for an outdoor pile. Adjust based on moisture and smell.
What Not to Compost
Avoid meat, dairy, oily foods, diseased plants, pet waste from carnivores, and invasive weeds that might regrow. These items attract pests or slow decomposition.
Step-by-Step Home Composting Process
Follow these practical steps to build a healthy compost heap that breaks down efficiently.
- Start with a 5–10 cm layer of coarse material for aeration.
- Add alternating layers of greens and browns, keeping layers thin for faster breakdown.
- Moisten each layer so it feels like a wrung-out sponge; avoid soggy piles.
- Turn or aerate the pile every 1–2 weeks to introduce oxygen and speed decomposition.
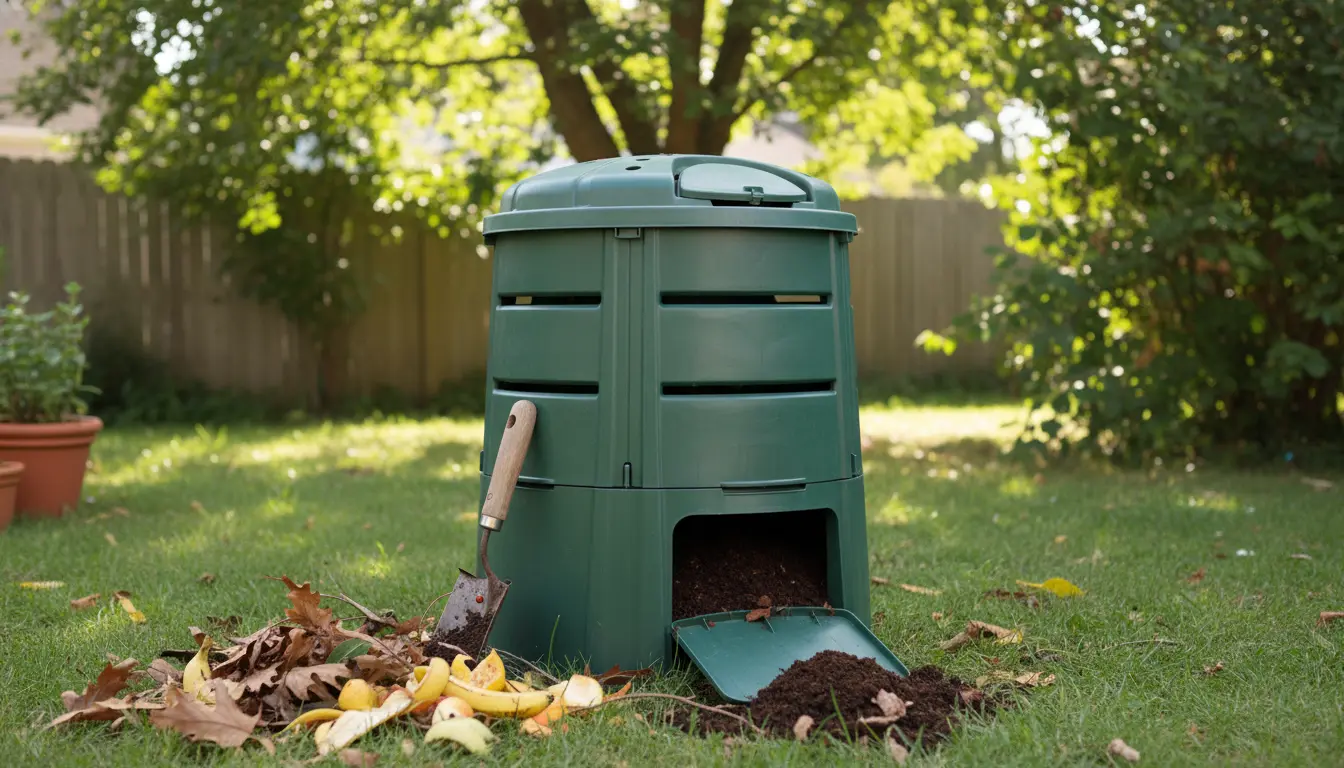
- Harvest finished compost when materials are dark, crumbly, and earthy-smelling.
Moisture and Temperature Tips
Maintain moderate moisture — not dry but not waterlogged. Heat indicates active decomposition; ideal internal temperatures for hot composting are 55–65°C (130–150°F).
If the pile is too wet, add browns and turn. If it is dry, add water and fresh greens.
Troubleshooting Common Home Composting Problems
Problems are usually easy to fix with simple adjustments. Address issues promptly to keep composting on track.
- Bad odor: Add more browns and increase turning to add oxygen.
- Pests: Bury food scraps under browns or use a closed bin; avoid meat and dairy.
- Slow breakdown: Chop materials small, balance greens and browns, and keep moist.
- Too dry: Add water and fresh greens; cover the pile to retain moisture.
Using Finished Compost in Your Home Garden
Finished compost is dark, crumbly, and smells like forest soil. Use it to top-dress lawns, mix into potting soil, or incorporate into garden beds.
- Seed starting: Mix 10–20% compost into potting mixes for nutrients and moisture retention.
- Soil amendment: Work 2–5 cm of compost into garden beds before planting.
- Mulch: Spread compost around plants to conserve moisture and add slow-release nutrients.
Small Real-World Example: A City Apartment Case Study
Sarah, a city apartment resident, started a small worm bin with a 20-liter container. She collected food scraps for three months and added shredded paper as browns.
Results after 12 weeks: Sarah produced about 10 liters of worm castings and a nutrient-rich liquid. She used this for her balcony tomato plants and reported healthier leaves and improved yield.
Key factors in her success were avoiding citrus overload, keeping the bin in a shaded spot, and maintaining a balanced green-to-brown mix.
Quick Checklist to Start Home Composting Today
- Choose a bin type: backyard, tumbler, worm bin, or bokashi.
- Gather browns (dry leaves, paper) and keep a container for greens (kitchen scraps).
- Start with a base layer and alternate greens and browns, maintaining moisture.
- Turn the pile regularly or follow your method’s schedule.
- Use finished compost in pots and garden beds after 2–6 months depending on method.
Final Tips for Ongoing Success
Be patient — composting is biological and timing varies by method and season. Keep notes on what you add and how the pile responds; small adjustments solve most issues.
With consistent practice, home composting becomes an easy routine that saves waste, helps plants, and supports a more sustainable household.