
What Is Home Composting?
Home composting is the natural process where organic kitchen and garden waste breaks down into nutrient-rich material. This material, called compost, can improve soil, help plants, and reduce landfill waste.
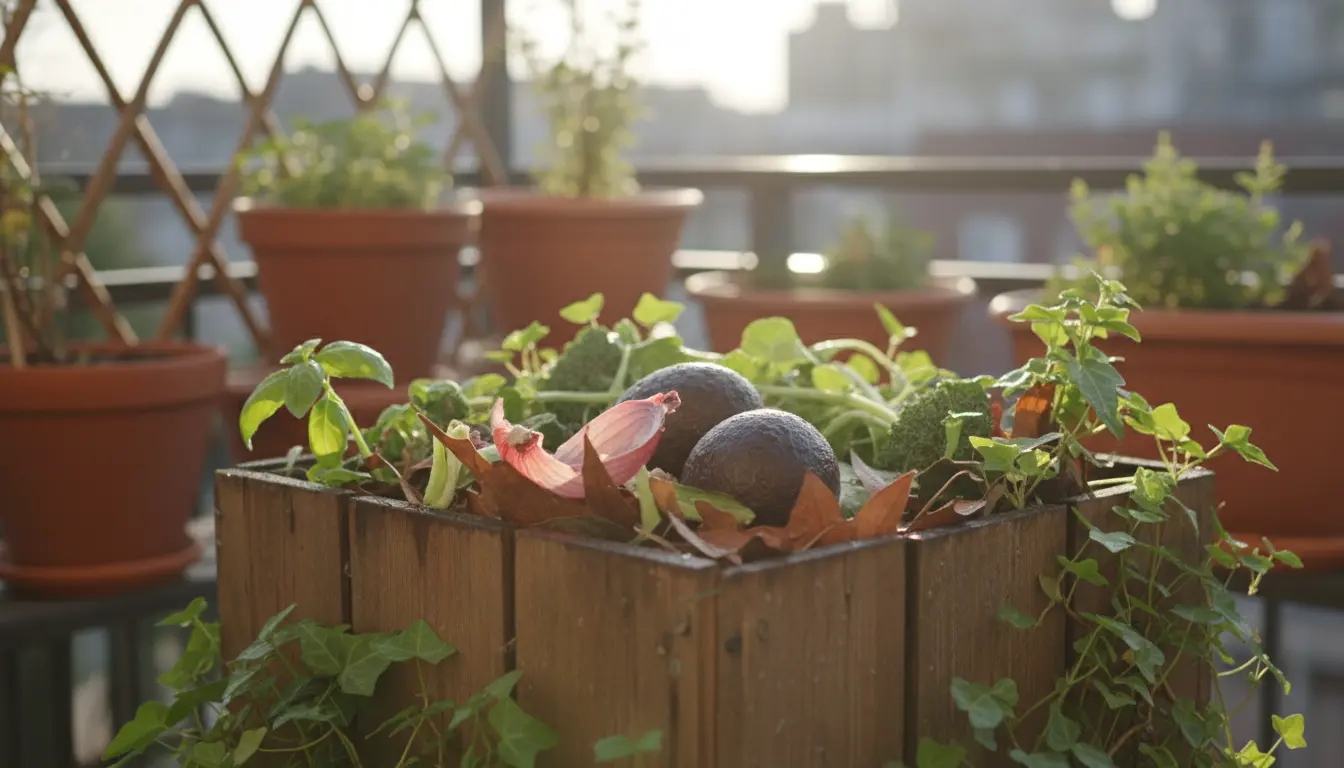
Composting is an accessible practice for apartments, small yards, and farms. A simple compost bin and basic care let you convert scraps into useful compost in months.
Why Start a Compost Bin at Home?
Starting a compost bin at home reduces trash volume and returns nutrients to soil. It also lowers methane emissions compared with sending organics to landfill.
Other benefits include saving money on store-bought soil amendments and improving plant health with home-made compost.
Choose the Right Compost Bin
Select a bin that fits your space and needs. Options include tumblers, plastic or wooden stationary bins, worm (vermicompost) containers, and open pile systems.
Consider these factors when choosing a bin:
- Available space (balcony, patio, yard).
- Amount of kitchen and yard waste produced weekly.
- Effort you want to spend on turning or managing the pile.
Best Bin Types for Beginners
Tumblers are user-friendly and make turning easy. Worm bins are ideal for apartment dwellers and work well for most kitchen scraps. Stationary bins are low-cost and suit larger yard waste.
Balance Greens and Browns
Healthy compost needs a balance of green and brown materials. Greens are high in nitrogen and include fruit peels, vegetable scraps, coffee grounds, and fresh grass clippings.
Browns add carbon and include dry leaves, shredded paper, cardboard, and small wood chips. Aim for roughly a 2:1 or 3:1 ratio of browns to greens by volume.
How to Build Your Compost Pile
Start with a layer of coarse browns at the bottom to aid drainage and airflow. Add a layer of greens next, then a thin layer of finished compost or garden soil if available to introduce microbes.
Repeat layering until the bin is filled. Keep pieces small by chopping or shredding items to speed decomposition.
What to Add and What to Avoid
- Good additions: fruit and vegetable scraps, coffee grounds, eggshells, shredded paper, dry leaves, grass clippings.
- Avoid: meat, dairy, oily foods, diseased plants, and pet waste from carnivores.
Manage Moisture and Aeration
Compost should feel like a wrung-out sponge. Too dry and decomposition slows; too wet and the pile becomes anaerobic and smelly. Add water or cover during long dry spells and add more browns if too wet.
Air is essential. Turn the pile every 1–2 weeks for faster composting. Tumblers simplify this step, while stationary bins may need a pitchfork or aeration pipe.
Speed Up Composting
To accelerate breakdown, keep materials small, maintain the right moisture, and ensure good airflow. Adding a shovelful of garden soil or finished compost adds beneficial microbes.
In warm months and with frequent turning, compost can be ready in 2–3 months. Slower methods may take six months to a year.
How to Tell When Compost Is Ready
Finished compost is dark, crumbly, and smells earthy. Most original materials are no longer recognizable. It should be cool to the touch and easy to sift.
Use finished compost as a soil amendment, top dressing for lawns, or mixed into potting soil at about 10–30% by volume.
Troubleshooting Common Problems
If your compost smells rotten, add more brown materials and turn the pile to introduce oxygen. If it is dry and slow, add water and more greens to boost microbial activity.
Pests are usually attracted to meat or oily foods. Remove those items and consider a closed bin or fine-mesh cover to deter pests.
Small Case Study: Sarah’s Balcony Compost
Sarah, who lives in a two-bedroom apartment, used a small worm bin on her balcony. She added vegetable scraps, coffee grounds, and shredded paper. In six months she produced about 40 liters of compost.
She reduced her weekly trash by one kitchen bag and used the compost to feed container plants. The system required about 10 minutes of care twice a week.
Tips for Success with Home Composting
- Chop larger pieces to increase surface area and speed decomposition.
- Keep a small counter bucket with a lid to collect kitchen scraps and empty it daily into the bin.
- Rotate layers and monitor moisture weekly.
- Use a mix of materials; too much of one type slows the process.
Final Checklist to Start Your Compost Bin
- Choose a bin that fits your space and waste volume.
- Collect a mix of greens and browns before starting.
- Layer materials, keep moisture correct, and aerate regularly.
- Monitor progress and harvest finished compost when dark and crumbly.
Home composting is a low-cost, practical way to reduce waste and improve garden soil. With the right bin, a balance of materials, and simple maintenance, most households can produce useful compost in a matter of months.