
Home composting for beginners is a low-cost way to turn kitchen scraps and yard waste into nutrient-rich soil. This guide explains what to compost, how to set up a simple system, and how to maintain it without jargon.
Why choose home composting for beginners
Composting reduces landfill waste and improves garden soil. It also saves money on store-bought soil amendments and supports plant health naturally.
This section covers the basic benefits and what you can expect in the first months of composting.
Key benefits of home composting
- Reduces kitchen and garden waste by up to 30 percent.
- Produces free compost to enrich pots and garden beds.
- Improves soil structure and water retention.
Compost can reach temperatures high enough to kill many weed seeds and pathogens if managed for hot composting, but simple backyard composting still greatly improves soil biology.
Materials to use in home composting for beginners
Good compost needs a balance of carbon-rich and nitrogen-rich materials. Aim for a mix rather than only one type.
Carbon materials (browns)
- Dry leaves, straw, shredded paper, and cardboard.
- Provide structure and slow-release energy for microbes.
Nitrogen materials (greens)
- Vegetable scraps, coffee grounds, fresh grass clippings, and garden trimmings.
- These feed the microbes and speed decomposition.
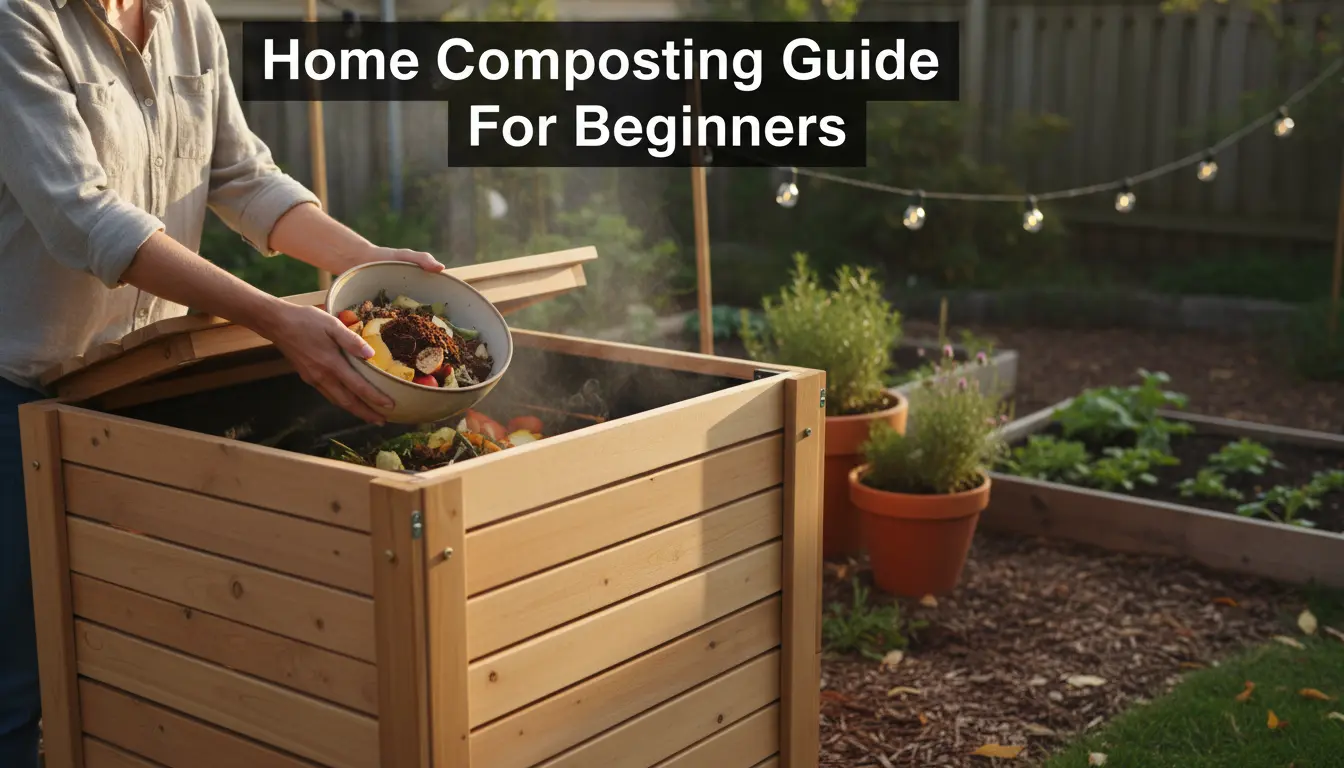
Choosing a compost bin for home composting for beginners
You can start with a simple tumbling bin, a stationary bin, or an open pile, depending on space and budget. Each has pros and cons for maintenance and speed.
- Tumbling bin: Easy to turn, faster results, good for small yards.
- Stationary bin: Cheaper, low maintenance, takes longer to mature.
- Open pile: Best for large gardens where neatness is not essential.
Step-by-step setup for home composting for beginners
Follow these steps to start a reliable compost system that fits everyday home life.
1. Select a location
Choose a level, well-drained spot with partial shade. Close access to the kitchen makes adding scraps easier.
2. Layer materials
Start with a 4–6 inch layer of coarse browns for airflow. Alternate greens and browns in roughly equal volumes.
3. Maintain moisture and airflow
Compost should feel like a wrung-out sponge. Add water during dry spells and turn or aerate every 1–2 weeks to keep oxygen flowing.
4. Monitor progress
Temperature and smell tell you how it is going. A healthy pile is warm and earthy-smelling. Bad odors mean too much moisture or too many greens.
Troubleshooting common problems in home composting for beginners
Simple adjustments fix most issues quickly. Use the checklist below when things go wrong.
- Foul smell: Add dry browns and turn the pile to increase airflow.
- Too dry and slow: Add water and more greens or fresh kitchen scraps.
- Pile not heating: Add more greens and turn; smaller particle sizes also help.
Using finished compost
Finished compost is dark, crumbly, and earthy-smelling. Use it as a top dressing, potting mix additive, or soil amendment.
- Mix 1 part compost to 3 parts garden soil to enrich beds.
- Top dress lawns or potted plants with a thin layer to improve nutrients.
Small real-world example
Case study: A two-person household started a 200-liter tumbling bin and added kitchen scraps plus shredded leaves. By following a schedule of weekly turns and balancing greens and browns, they produced usable compost in about 4 months.
Results: Houseplants received two feedings with the compost, showing fuller growth and fewer watering needs in summer.
Practical tips for long-term success with home composting for beginners
- Keep a small kitchen pail with a lid to store scraps and reduce trips outside.
- Chop or shred large items to speed breakdown.
- Save dry leaves in autumn for a steady supply of browns.
- Record additions and turning dates to build a simple routine.
Home composting for beginners becomes easier with a consistent routine and small adjustments. Start simple, learn from each batch, and expand your system as your confidence grows.
Next steps: Choose a bin type, gather a mix of browns and greens, and commit to a weekly check. Within months you will have a free resource to improve soil and reduce waste.