
Home composting is a practical way to turn kitchen scraps and yard waste into nutrient-rich soil. This guide explains how to start a home composting system, what materials to use, and how to avoid common problems.
Home Composting Basics
Composting is the controlled breakdown of organic material by microorganisms. A balanced mix of carbon (browns) and nitrogen (greens) speeds decomposition and reduces odors.
Why Home Composting Matters
Home composting reduces landfill waste and improves garden soil structure. It also saves money on fertilizers and helps retain moisture in soil.
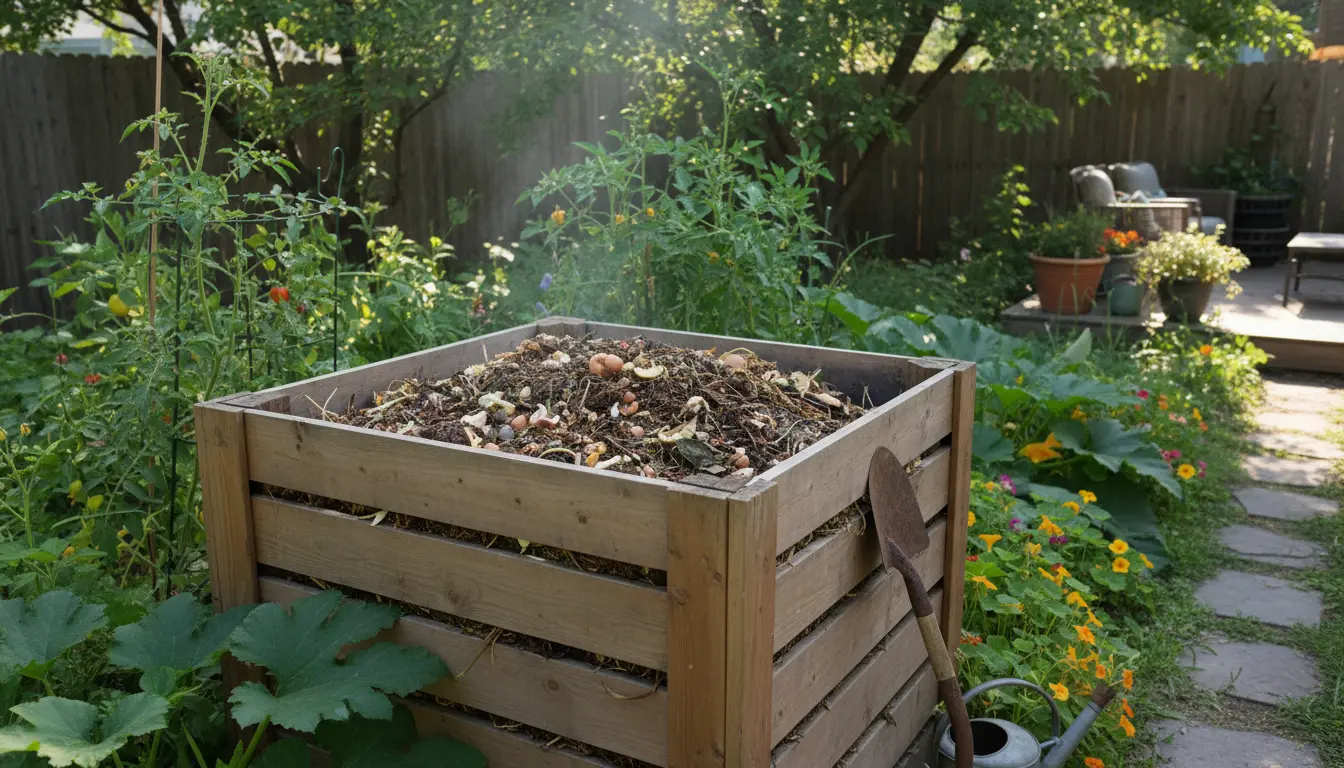
Choosing a Bin for Home Composting
Select a bin that fits your space and volume of waste. Options include tumblers, stationary bins, and simple open piles for larger yards.
Tumbler bins speed mixing and reduce pests, while stationary bins are low-cost and low-maintenance. Choose one that you will use consistently.
Bin Placement and Size
Place the bin on soil or grass to allow worms and microbes to enter. For small households, a 50–100 liter bin is usually sufficient. Larger households may need multiple bins or a bigger unit.
What to Compost: Greens and Browns
Successful home composting depends on combining the right materials. Think in terms of greens and browns.
- Greens (nitrogen): vegetable scraps, fruit peels, coffee grounds, fresh lawn clippings.
- Browns (carbon): dry leaves, straw, shredded paper, cardboard, wood chips.
Aiming for roughly a 2:1 or 3:1 ratio of browns to greens by volume helps maintain airflow and prevent a soggy pile.
Items to Avoid in Home Composting
- Meat, dairy, and oily foods (attract pests and cause odors).
- Diseased plants and invasive weeds (may survive the pile).
- Pet waste and treated wood (pathogens and chemicals).
Simple Steps to Build a Compost Pile
Follow these steps to start composting at home with minimal fuss. The method works for backyard bins and in-vessel systems.
- Step 1: Add a 5–10 cm layer of browns to the bottom for drainage.
- Step 2: Add a 5–10 cm layer of greens on top of the browns.
- Step 3: Alternate layers, keeping the pile moist but not waterlogged.
- Step 4: Turn or mix every 1–2 weeks to add oxygen and speed decomposition.
Moisture and Aeration
The pile should feel like a wrung-out sponge. Add water during dry spells and add more browns if the pile becomes too wet. Turning introduces oxygen and prevents anaerobic odors.
Adding a thin layer of finished compost or garden soil to new layers introduces beneficial microbes and speeds up decomposition.
Troubleshooting Common Problems in Home Composting
Even simple systems can face issues. Here are quick fixes for frequent problems.
- Bad smell: Add more browns and turn the pile to introduce air.
- Slow decomposition: Chop materials smaller and maintain moisture and warmth.
- Pests: Avoid meat and bury kitchen scraps; use enclosed bins or fine mesh barriers.
Temperature and Composting Speed
Hot composting (50–65°C) finishes faster and kills weed seeds. Cold composting is slower but requires less effort. Insulating a pile or using a closed bin helps maintain heat.
Using Finished Compost in Your Garden
Compost is ready when it is dark, crumbly, and earthy-smelling. This can take 2–12 months depending on method and conditions.
Use finished compost as a soil amendment, mulch, or ingredient in potting mixes. Apply a 2–5 cm layer to beds or mix 10–20% compost into potting soil for containers.
Small Real-World Example
Case Study: A two-person household in a suburban lot started a 120-liter tumbler. They added kitchen scraps and shredded leaves, turning the tumbler weekly. In six months they produced about 60 liters of finished compost. The homeowners reported healthier vegetable beds and reduced grocery waste by 30%.
Quick Tips for Successful Home Composting
- Chop or shred larger materials to speed breakdown.
- Keep a small bin near the kitchen to collect scraps and transfer them often.
- Rotate or have two bins to allow one pile to mature while adding to another.
- Measure and adjust: add browns if wet, greens if slow.
Home composting is practical and scalable. Start small, observe the pile, and adjust the balance of materials. Over time you will develop a rhythm that fits your household and garden needs.