
Composting at home turns kitchen scraps and yard waste into rich soil that improves plant health. This guide gives clear, step-by-step instructions for home composting, plus tips to avoid common problems.
Why choose home composting
Home composting reduces household waste and returns nutrients to soil. It lowers landfill volume and can cut your trash costs while improving garden health.
Basic materials for home composting
Successful home composting relies on the right mix of materials, moisture, and airflow. Aim for a balance of carbon-rich and nitrogen-rich inputs to keep decomposition active.
Green and brown materials
- Greens (nitrogen): fruit and vegetable scraps, coffee grounds, fresh grass clippings.
- Browns (carbon): dry leaves, shredded paper, straw, cardboard pieces.
- Target a rough ratio of 3 parts browns to 1 part greens by volume for most systems.
What to avoid
- Meat, dairy, oily foods — they attract pests and cause odor.
- Diseased plants or invasive weeds — they can survive the compost process.
- Pet waste from carnivores — it can contain pathogens.
Setting up a bin for home composting
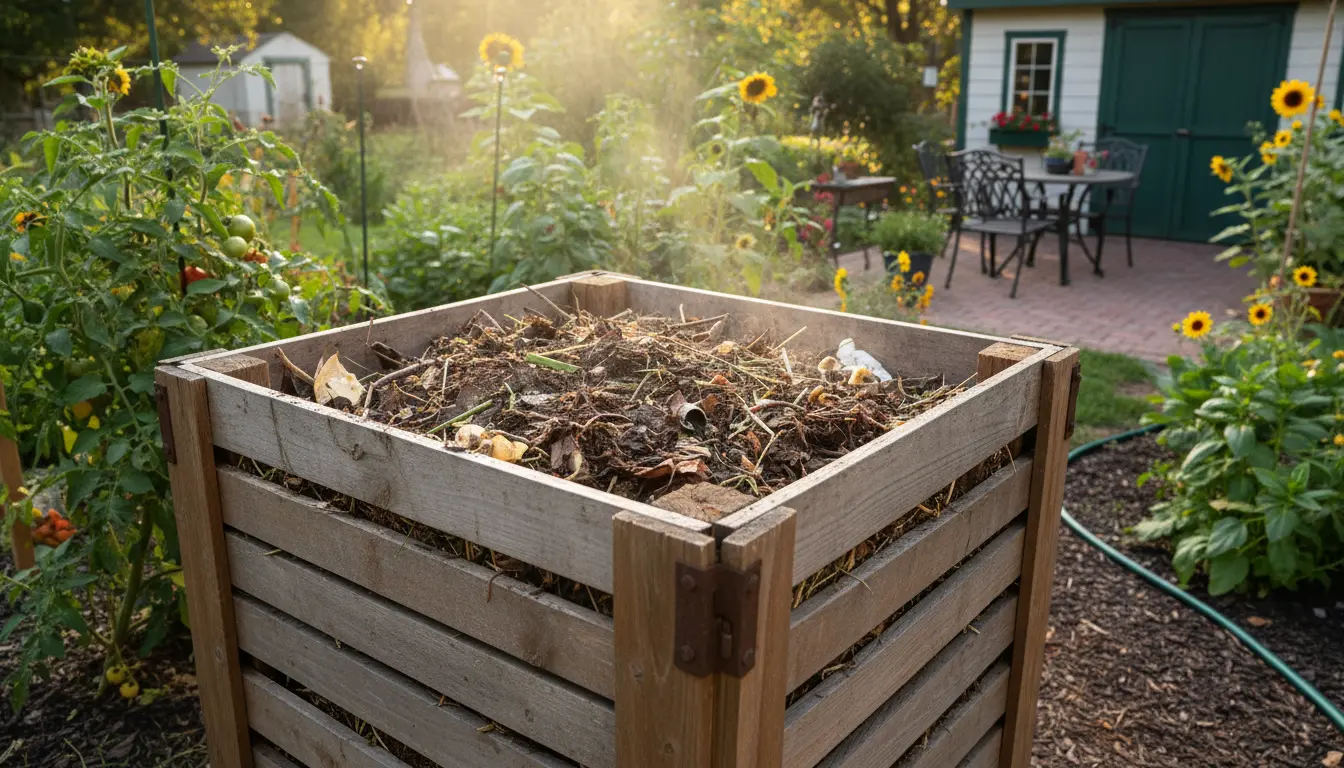
Choose a compost bin that fits your space: tumblers, plastic bins, or simple open piles work. Place the bin on soil or a permeable surface to allow drainage and access for soil organisms.
Location and size
- Pick a shaded or partly shaded spot to keep the pile from drying out.
- Aim for a pile at least 3x3x3 feet (1 cubic meter) if possible; smaller systems still work but may decompose slower.
Step-by-step home composting process
Follow these basic steps to build and maintain an active compost heap. Keep each action simple to maintain steady decomposition.
- Start with a layer of coarse browns (twigs, straw) at the bottom for airflow.
- Add alternating layers of greens and browns, moistening dry layers as needed.
- Chop or shred large pieces to speed decomposition.
- Turn or mix the pile every 1–2 weeks to add oxygen and even out moisture and heat.
- After several weeks to months, the material will darken and smell earthy — that means finished compost.
Monitoring heat and moisture
Use your hand or a compost thermometer to check temperature. Ideal active compost heats between 120–150°F (50–65°C) but small home piles may be cooler and still work.
Maintain moisture like a wrung-out sponge: damp but not dripping. Add water if too dry, or add more browns if too wet.
Troubleshooting common home composting problems
Many issues are fixable with small adjustments. Diagnose by checking smell, pests, and appearance.
Foul smell
- Cause: too wet or too many greens. Fix: add browns, turn the pile to increase airflow.
Pests like rats or flies
- Avoid meat and dairy. Cover fresh scraps with a brown layer or use a closed bin or tumbler.
Slow decomposition
- Check particle size, moisture, and aeration. Chop materials finer and turn the pile more often.
Small real-world case study
Case: A two-person household in a small yard started a 3-bin system. They collected kitchen scraps in a countertop pail and emptied it into bin A every 2–3 days.
After six months, their first bin produced about 25 liters of finished compost. They rotated bins: when bin A was full they moved to bin B, then to bin C. Their garden yield improved and weekly trash volume dropped by roughly 40%.
Compost can reduce household waste by up to 30 percent while returning valuable nutrients to soil and improving moisture retention.
Safety tips and best practices for home composting
Follow simple safety rules to protect family and pets. Keep composting hygienic and low-risk.
- Wash hands after handling raw compost and use gloves if needed.
- Avoid adding pet feces or human waste to home compost unless using a specialized system.
- Monitor heat if killing weed seeds or pathogens is important; higher temperatures are needed for full sanitation.
Quick checklist to start home composting
- Choose a bin and location.
- Gather a supply of browns and a place for greens.
- Layer, moisten, and turn regularly.
- Use finished compost in pots, garden beds, or as a top dressing.
Home composting is a low-cost, high-benefit practice anyone can start. Use these steps and tips to set up a system that fits your space and lifestyle, and adjust as you learn what works best for your household.