
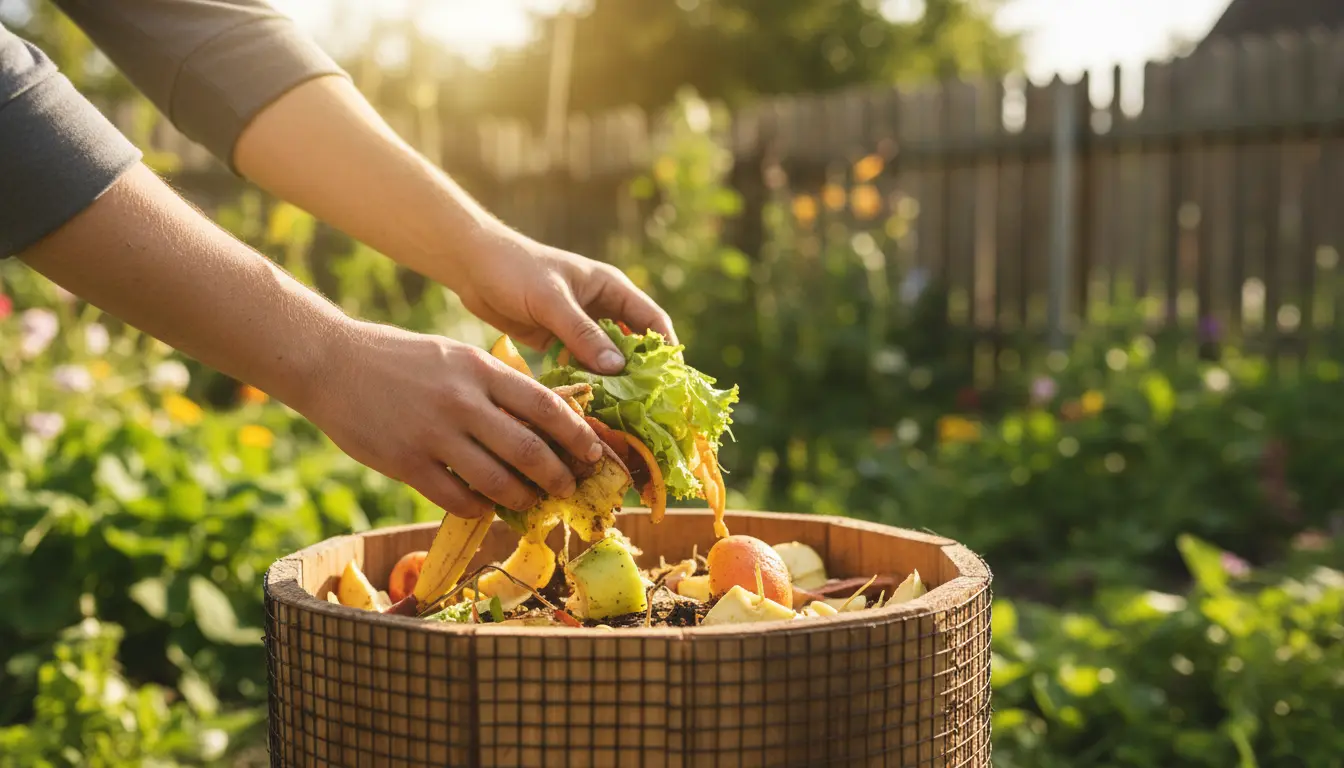
Composting at home turns kitchen waste into a useful soil amendment and reduces household trash. This guide gives clear, practical steps to start kitchen compost and maintain it so you get rich compost without fuss.
Why choose home composting?
Home composting lowers waste, saves money on soil amendments, and supports healthier garden soil. It works in apartments and houses with simple adjustments to method and container size.
Choose a kitchen compost method
Pick a method that fits your space and schedule. Options include a simple countertop bin with regular transfers, a backyard compost bin, a tumbler, or bokashi for small indoor spaces.
Popular systems for kitchen compost
- Countertop pail + outdoor bin: Collect scraps in a sealed pail, empty outside every few days.
- Compost tumbler: Faster decomposition with easy turning; good for small yards.
- Bokashi: Ferments all food waste (including meat/dairy); needs a secondary composting step in soil.
- Vermicompost (worms): Great for apartments; produces nutrient-rich castings quickly.
What to compost and what to avoid
Knowing what to add keeps your compost from smelling and attracting pests. Aim for a mix of greens (nitrogen) and browns (carbon).
Accepted kitchen items
- Fruit and vegetable scraps
- Coffee grounds and filters, tea bags (remove metal staples)
- Eggshells (crushed)
- Shredded paper and cardboard (small amounts)
Items to avoid or handle carefully
- Meat, fish, and dairy (unless using bokashi)
- Greasy or oily foods
- Diseased plant material or weeds with seeds
- Pet waste from carnivores
Basic steps to start kitchen compost
Follow these steps for a reliable compost pile or bin. Keep each step short and consistent to avoid problems.
- Select a bin and location: Choose a shaded spot with good drainage or a countertop pail for indoor collection.
- Layer materials: Start with coarse browns (twigs or shredded cardboard) then add food scraps in small amounts.
- Maintain the 2:1 ratio rule: Aim for roughly two parts brown to one part green by volume.
- Turn or aerate regularly: Every 1–2 weeks for outdoor bins; rotate a tumbler weekly.
- Monitor moisture: Compost should be as damp as a wrung-out sponge. Add water if too dry, add browns if too wet.
Troubleshooting common issues in home composting
Problems are usually simple to fix. Check symptoms, then apply one of the practical solutions below.
Bad smell
- Cause: Too many greens or anaerobic conditions.
- Fix: Add dry browns, turn the pile, and ensure good airflow.
Pests like flies or rodents
- Cause: Exposed food scraps or meat/dairy in non-secured bins.
- Fix: Use sealed bins, bury scraps under browns, or switch to bokashi for indoor food waste.
Slow decomposition
- Cause: Low temperature, incorrect moisture, or imbalance of materials.
- Fix: Chop materials smaller, add nitrogen-rich greens, keep pile moist, and turn more often.
Compost can reduce household waste by up to 30 percent. Finished compost improves soil structure, water retention, and supports beneficial microbes.
How to know when compost is ready
Finished compost is dark, crumbly, and smells earthy. For most backyard systems, expect usable compost in 3–6 months. Tumblers and hot compost systems can be faster.
Using finished compost in your garden
Apply finished compost as a top dressing, mix into potting mixes, or use as a soil amendment before planting. A thin layer around established plants provides nutrients and improves soil health.
Application tips
- Vegetable beds: Mix 1–2 inches of compost into the top 6 inches of soil before planting.
- Pots and containers: Blend one part compost with two parts potting mix for richer soil.
- Lawn: Spread a thin layer (about 1/4 inch) and water in to feed grass naturally.
Real-world example: Small apartment composting
Case study: Sara lives in a two-bedroom apartment and started kitchen composting with a small countertop pail and a bokashi bucket. She collected all food scraps in the bokashi bucket and fermented them for two weeks. After fermentation, she buried the material in a community garden’s compost pit.
Results: Within six months Sara reduced her weekly trash by about 30 percent. The garden staff reported improved soil texture and better seedling growth in beds amended with the bokashi-finished material.
Quick checklist to get started with home composting
- Choose a system (countertop pail, tumbler, backyard bin, bokashi, or worms).
- Collect scraps and balance greens and browns.
- Monitor moisture and aeration regularly.
- Troubleshoot odors and pests by adding browns and turning.
- Use finished compost to improve soil and reduce waste.
Starting home composting takes minimal time and offers lasting benefits for your garden and the planet. Pick a method that suits your space, stay consistent with simple maintenance, and you’ll be producing valuable compost in months.