
Home composting turns kitchen scraps and yard waste into nutrient-rich soil. This guide gives practical steps for beginners to set up a compost system, what materials to use, and how to maintain healthy decomposition.
What Is Home Composting
Home composting is the controlled breakdown of organic matter by microbes, worms, and insects into humus. The final product, compost, improves soil structure, water retention, and plant health.
Benefits of Home Composting
- Reduces household waste and landfill use.
- Creates free, nutrient-rich soil for gardens and potted plants.
- Improves soil moisture retention and reduces need for chemical fertilizers.
How to Start Home Composting
Choose a method that fits your space and lifestyle: a backyard bin, tumbling composter, or a small worm bin for apartments. Each method has different space and maintenance needs.
Choose a Location and Container
Place your compost bin on bare soil if possible so earthworms can enter. For balconies, use a sealed worm bin or a compact compost tumbler. Make sure it has drainage and some airflow.
Balance Greens and Browns
Compost needs a balance of nitrogen-rich ‘greens’ and carbon-rich ‘browns.’ Aim for roughly a 1:2 ratio by volume (greens to browns) for steady decomposition.
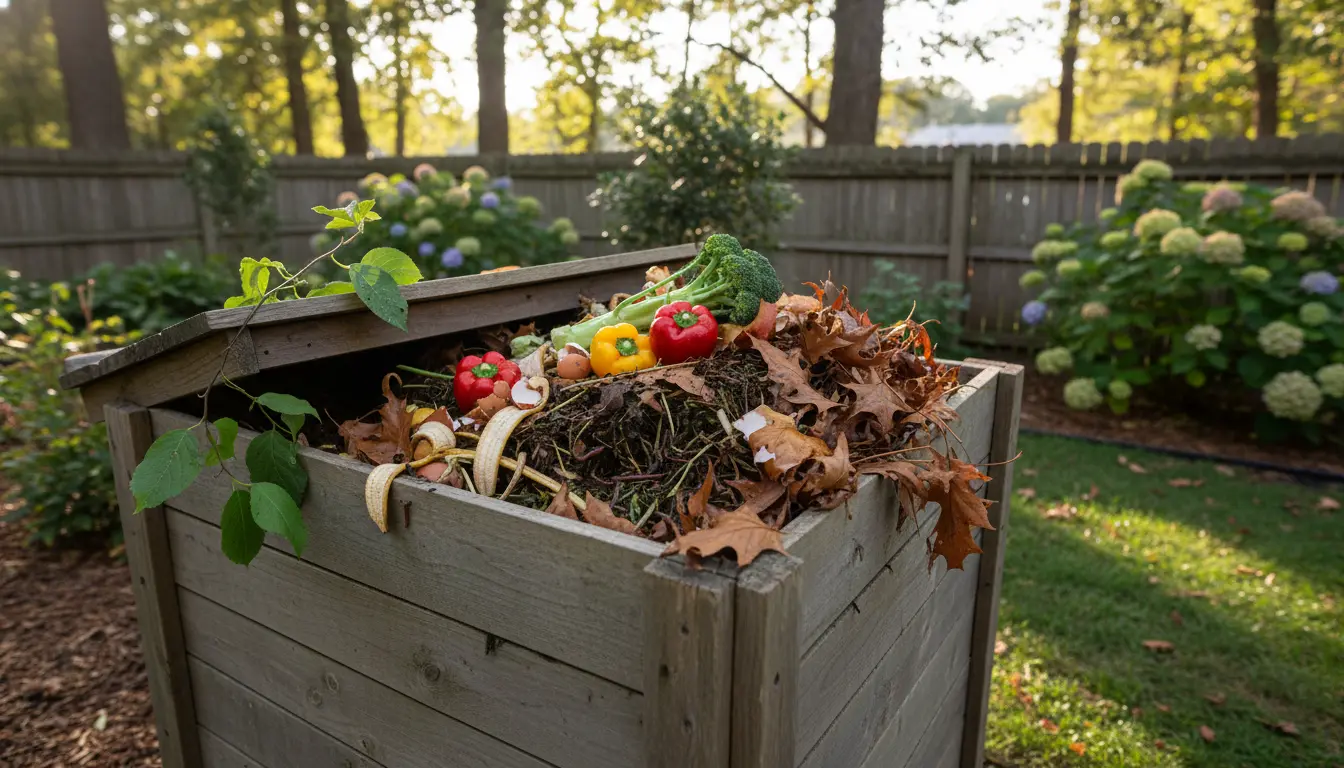
- Greens: fruit peels, vegetable scraps, coffee grounds, fresh grass clippings.
- Browns: dry leaves, shredded paper, cardboard, straw, wood chips.
Step-by-Step Setup
Follow these basic steps to build an effective compost pile or bin.
- Start with a 4–6 inch base of coarse brown material for airflow.
- Add a 2–3 inch layer of greens, then cover with browns.
- Repeat layering until the bin is 2/3 full. Moisten each green layer slightly.
- Turn the pile every 1–2 weeks to introduce oxygen and speed decomposition.
Hot vs Cold Composting
Hot composting reaches higher temperatures and breaks down material faster, often in 2–3 months. It requires a larger pile, frequent turning, and careful balance of greens and browns.
Cold composting is low-maintenance and slower. It can take a year or more but works well for busy gardeners or small piles.
When to Choose Each
- Hot composting: choose if you want quick results and have enough yard waste.
- Cold composting: choose for low effort or limited space.
Maintenance and Troubleshooting
Regular checks prevent problems. Good compost should smell earthy, be warm in the center, and have a crumbly texture when finished.
Common Issues and Fixes
- Bad smells: add more browns and turn the pile to add air.
- Too dry: add water and greens to restore microbial activity.
- Pests: avoid adding meat, dairy, or oily foods and use a closed bin if needed.
- Slow decomposition: increase turning and add fresh greens or a compost activator.
What Not to Compost
Avoid meat, bones, dairy, pet waste, diseased plants, and invasive weeds. These items can attract pests or survive the composting process.
Adding a handful of finished compost or garden soil to a new pile introduces beneficial microbes and speeds decomposition.
Using Finished Compost
Finished compost is dark, crumbly, and smells earthy. Use it as a top dressing for lawns, mix into potting soil, or incorporate into garden beds at a rate of 1–3 inches.
Small Real-World Case Study
Case: A two-person household in a row house used a 50-gallon tumbling composter for 18 months. They saved about 25% of their kitchen waste from trash and produced two 5-gallon buckets of compost each season.
They rotated the tumbler twice a week, balanced greens and browns by saving dry leaves in autumn, and used compost in potted herbs and a small vegetable bed. The result: healthier tomato plants and less grocery expense for herbs.
Quick Tips for Beginners
- Collect kitchen scraps in a small counter bucket to reduce trips to the bin.
- Shred large materials to speed breakdown.
- Keep a log of turning and add a thermometer for hot composting.
Home composting is practical and scalable. Start small, learn by doing, and adjust the mix and maintenance to fit your schedule and space. Over time you will produce rich compost that benefits both your garden and the planet.