
Composting at home is a practical way to cut waste and build healthy soil for gardens or potted plants. This guide gives clear, actionable steps to start and maintain a home composting system, with common fixes and a short case study.
Why Home Composting Matters
Home composting reduces landfill waste and returns nutrients to the soil. It also helps retain moisture and improves soil structure for better plant growth.
Benefits of home composting
- Reduces household waste and trash costs.
- Produces free, nutrient-rich soil amendment.
- Improves garden health and water retention.
- Supports sustainable living and lowers carbon emissions.
What You Need to Start Home Composting
Starting a compost system takes a few tools and basic knowledge about materials. You can begin with a simple setup and upgrade later.
Materials to compost
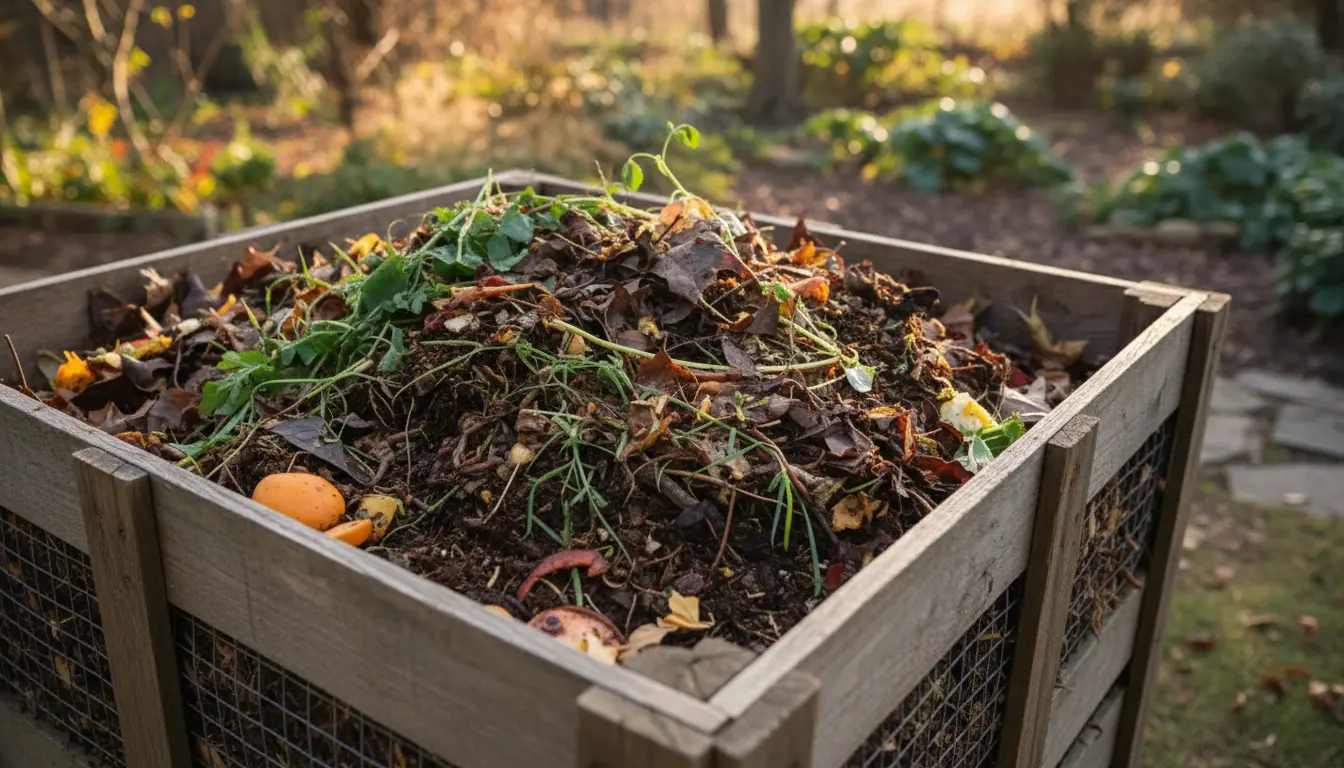
Compostable items fall into two groups: greens and browns. Balancing them keeps the pile active and odor-free.
- Greens: kitchen scraps, fresh grass clippings, coffee grounds.
- Browns: dry leaves, shredded paper, straw, cardboard.
Tools and bin options
You don’t need expensive gear. Choose what fits your space and budget.
- Compost bin (tumbler, stationary bin, or simple pile).
- Pitchfork or garden fork for turning.
- Garden thermometer (optional) to monitor temperature.
Step-by-Step Home Composting Guide
Follow these steps to build a healthy compost pile that breaks down materials efficiently.
-
Choose a location.
Pick a partially shaded spot with good drainage. Close access makes turning easier and keeps pests away.
-
Build a base layer.
Start with coarse browns like twigs or straw to help airflow at the bottom of the pile.
-
Add materials in layers.
Alternate thin layers of greens and browns. A general guideline is 2 parts browns to 1 part greens by volume.
-
Keep it moist but not soggy.
The pile should feel like a damp sponge. Add water during dry spells or more browns if it becomes too wet.
-
Turn the pile.
Turning every 1–2 weeks speeds decomposition by adding oxygen. Use a fork or tumbler to mix materials.
-
Monitor temperature and time.
Active piles heat to 130–150°F (54–65°C). Cooler piles still decompose but slower. Finished compost is dark, crumbly, and earthy-smelling, usually ready in 2–6 months.
Common Problems and Fixes in Home Composting
Many common issues are easy to correct with small adjustments.
Bad smells
Cause: too many greens or lack of air. Fix: add browns, turn the pile, and increase airflow.
Pests and rodents
Cause: exposed food scraps or meat/dairy in the pile. Fix: avoid meat and dairy, bury scraps under browns, use a closed bin or secure tumbler.
Slow decomposition
Cause: pile too dry, too cold, or lacking nitrogen. Fix: moisten, add greens, and turn more frequently.
Soggy pile
Cause: too much water or too many greens. Fix: add dry browns and mix to increase airflow.
How to Use Finished Compost
Finished compost is versatile. Use it to boost garden soil, top-dress lawns, or mix into potting soil.
- Mix 1–3 inches of compost into garden beds before planting.
- Top-dress established plants with a thin layer to improve soil over time.
- Blend with potting mix at 10–25% compost for container plants.
Real-World Example: Small Family Composting Case Study
A family of three in a small urban yard started a 55-gallon tumbler. They added kitchen scraps and shredded newspaper, turning the tumbler twice a week.
In three months they produced about 20 liters of finished compost. They used it to top-dress potted herbs and noticed better growth and fewer waterings over the next season.
Quick Checklist to Start Home Composting
- Choose a bin or spot for the pile.
- Gather browns (leaves, paper) and greens (kitchen scraps).
- Layer materials and maintain moisture.
- Turn regularly and monitor for problems.
- Use finished compost in the garden or containers.
Home composting is a low-cost, high-impact way to manage waste and improve soil. Start small, observe the pile, and adjust as needed. With simple routines, even busy households can produce valuable compost for plants.