
Composting at home turns kitchen scraps and yard waste into a valuable soil amendment. This guide explains simple, practical steps to set up and maintain a compost system that works for most households.
Home Composting Basics
Home composting is the controlled decomposition of organic materials into humus. It reduces landfill waste, improves soil structure, and can lower water needs for plants.
What Can You Compost
Not all organic material is ideal for compost. Balance carbon rich “browns” with nitrogen rich “greens” for the best results.
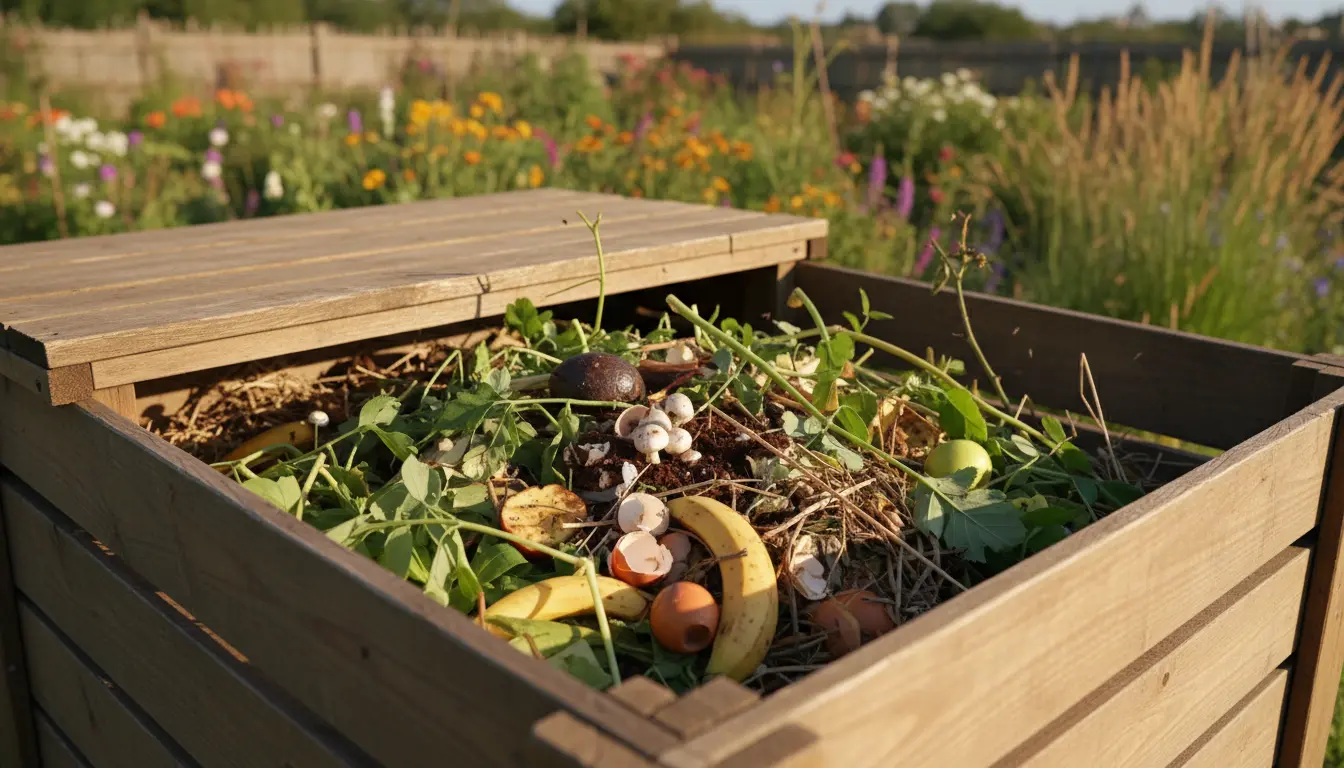
- Browns (carbon): dry leaves, shredded paper, cardboard, straw
- Greens (nitrogen): fruit and vegetable scraps, coffee grounds, fresh grass clippings
- Avoid: meat, dairy, oils, diseased plants, pet waste
Choosing a Compost System for Home Composting
Pick a system that fits your space and lifestyle. Options include a simple pile, a tumbler, or a closed bin.
System Options and When to Use Them
- Open pile: Best for large yards and gardeners who don’t mind occasional smells.
- Closed bin: Good for small yards; keeps pests out and looks tidy.
- Tumbler: Speeds up turning and aeration; ideal for active gardeners and small spaces.
How to Start a Compost Pile
Starting a compost pile requires layering and basic maintenance. Follow these steps to establish a balanced compost pile.
- Location: Choose a level, partly shaded spot with good drainage.
- Base layer: Add coarse browns like twigs to improve airflow.
- Alternate layers: Add 2–3 parts browns to 1 part greens by volume.
- Moisture: Keep the pile as damp as a wrung-out sponge.
- Turn: Aerate every 1–2 weeks for faster decomposition.
Quick Troubleshooting for Home Composting
If the pile smells, it is usually too wet or has too many greens. Add dry browns and turn the pile to restore airflow.
- Too dry: Add water and more greens.
- Slow breakdown: Chop items into smaller pieces and increase turning.
- Pests: Use a closed bin and avoid adding meat or fatty foods.
Composting can cut household waste by up to 30 percent and return vital nutrients to your garden soil in as little as 2–6 months, depending on management.
Maintaining Your Compost for Best Results
Regular attention keeps compost active and healthy. Maintenance focuses on moisture, aeration, and the brown-to-green ratio.
Simple Weekly Routine
- Check moisture: Add water during dry weeks; stir if too soggy.
- Turn the pile: Aerate to speed decomposition and prevent odors.
- Monitor temperature: A healthy pile gets warm in the center; drop in heat means turning or adding greens.
Using Finished Compost
Finished compost should look dark, crumbly, and smell earthy. Use it to improve soil structure, water retention, and nutrient holding capacity.
Application ideas:
- Top-dress lawns with a thin layer to boost soil life.
- Mix with potting soil at 10–30% for container plants.
- Work into garden beds before planting to improve structure and fertility.
Case Study: Small Space Home Composting
Emma, an apartment gardener, started a 50-liter tumbler on her balcony. She collected fruit and vegetable scraps in a countertop caddy and added shredded paper as browns.
Within four months, Emma had rich compost that she mixed into container soil. Her plants showed improved growth and she reduced weekly trash by roughly one-third.
Common Mistakes and How to Avoid Them
- Adding prohibited items: Never compost meat, dairy, or pet waste in a home pile.
- Poor mixing: Chop large pieces and turn regularly to encourage microbes.
- Neglecting moisture: Keep the pile moist but not waterlogged to maintain microbial activity.
Final Checklist for Starting Home Composting
- Choose a bin or pile location with easy access.
- Collect scraps in a sealed kitchen container to avoid pests.
- Balance browns and greens and maintain moisture.
- Turn regularly and harvest finished compost when dark and crumbly.
Home composting is a simple, effective way to return organic matter to the soil and cut household waste. Start small, learn by doing, and adjust the system to fit your schedule and space.