
Home composting turns kitchen and yard waste into rich soil amendment. This guide explains practical steps a beginner can follow to set up and manage a simple compost at home.
What Is Home Composting?
Home composting is the natural breakdown of organic material into humus. It uses microbes, moisture, oxygen, and time rather than chemicals.
Benefits of Home Composting
Composting reduces waste sent to landfills and returns nutrients to soil. It improves garden soil structure, water retention, and plant health.
Materials for Home Composting
Successful compost needs a balance of carbon and nitrogen materials. Think of them as browns and greens.
Greens (Nitrogen Rich)
- Vegetable and fruit scraps
- Fresh grass clippings
- Coffee grounds and tea leaves
Browns (Carbon Rich)
- Dry leaves and shredded paper
- Straw and cardboard
- Wood chips and sawdust (small amounts)
How to Start Home Composting: Step by Step
Choose a location that is convenient and has good drainage. A partly shaded spot near the garden is ideal.
1. Choose a Bin or Pile
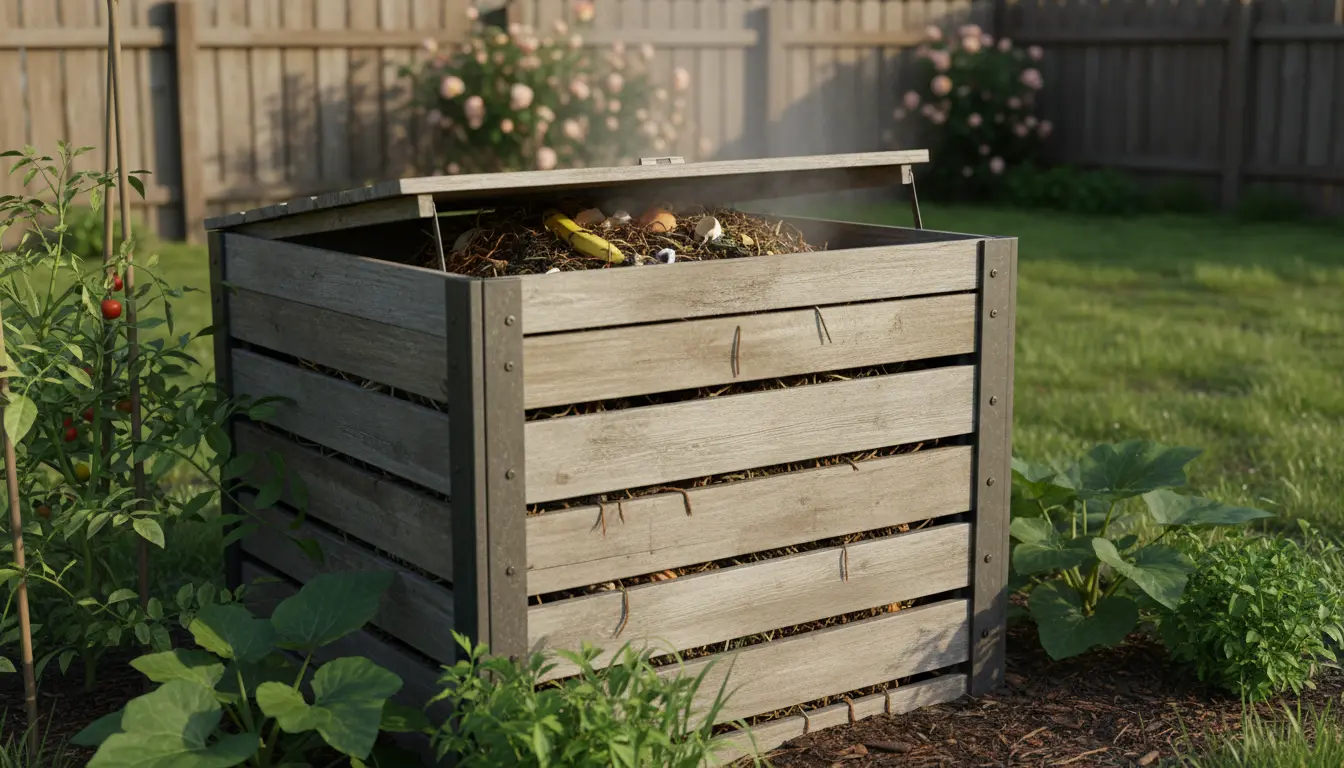
Use a simple open pile, a tumbling bin, or a purchased compost bin. Bins help contain material and keep pests out.
2. Build the First Layer
Start with a 4–6 inch layer of coarse browns like small branches or straw. This improves airflow at the base.
3. Add Materials in Layers
Alternate greens and browns in layers about 2–4 inches thick. Aim for roughly a 2:1 ratio of browns to greens by volume.
4. Maintain Moisture and Air
Compost should be moist like a wrung-out sponge. Turn or aerate the pile every 1–2 weeks to keep oxygen available.
5. Monitor Temperature
Active compost heats to 120–150°F (50–65°C). A warm center indicates good microbial activity and quicker breakdown.
Maintaining Your Home Compost
Routine checks prevent odors and pests. Simple maintenance keeps the process steady and predictable.
- Turn the pile every 1–2 weeks to introduce air.
- Add water during dry spells and cover if heavy rain so it does not get waterlogged.
- Shred or chop large items to speed decomposition.
Troubleshooting Home Composting Problems
Common issues have simple fixes. Identifying symptoms helps you react quickly and avoid setbacks.
Bad Smell
Cause: Too much wet green material or poor aeration. Fix: Add browns and turn the pile to introduce air.
Pests
Cause: Meat, dairy, or oily foods in the pile. Fix: Avoid animal products and bury food scraps in the center or use a closed bin.
Slow Decomposition
Cause: Low temperatures, lack of nitrogen, or very large pieces. Fix: Add greens, chop materials, and mix to warm the pile.
Properly managed compost can reduce household organic waste by up to 50 percent and lower methane emissions from landfills.
Real-World Example: A Small Case Study
One-family household with a small yard started an open compost bin in spring. They used kitchen scraps, lawn clippings, and shredded cardboard.
Within six months they produced two cubic feet of finished compost. The family mixed it into tomato beds and saw healthier plants and reduced watering needs.
Tips and Practical Examples for Home Composting
- Collect scraps in a kitchen caddy and empty daily to avoid odors.
- Shred cardboard and paper before adding to speed breakdown.
- Mix coffee grounds with dry leaves to keep a good balance.
- Use finished compost as a top dressing or soil mix for potted plants.
Frequently Asked Questions About Home Composting
How long does compost take? Under active conditions, finished compost appears in 2–6 months. Slower systems can take a year or more.
Can I compost in an apartment? Yes. Use a worm bin (vermicompost) or bokashi system suitable for small spaces.
Final Practical Checklist for Home Composting
- Choose a bin or area with good drainage
- Balance greens and browns
- Maintain moisture and aeration
- Avoid meat, dairy, and oily food
- Use finished compost to improve soil
Starting home composting is low-cost and practical. With simple adjustments over time, most households can produce nutrient-rich compost for gardens and reduce waste significantly.