
What is composting at home and why start?
Composting at home is the controlled breakdown of organic waste into a nutrient-rich soil amendment. It reduces trash, lowers methane emissions from landfills, and feeds your garden naturally.
For beginners, home composting is simple to start and scales from small apartment setups to backyard systems. This guide gives practical steps, tips, and troubleshooting to make composting reliable.
Choose the right method for home composting
Select a composting method based on space, effort, and material types. The main options are backyard bins, tumbler systems, and small indoor or vermicompost setups.
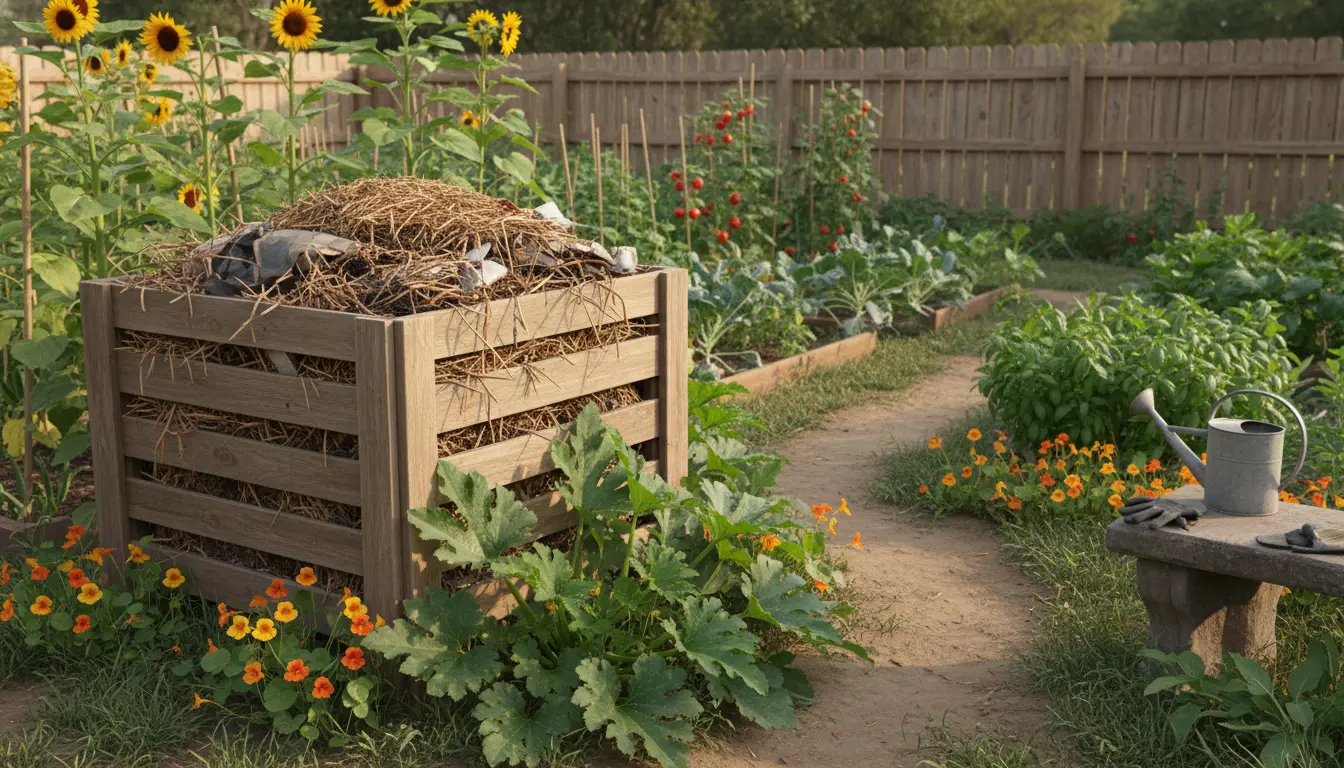
- Backyard compost bin: Good for yards, low cost, accepts coarse garden waste.
- Compost tumbler: Faster mixing, neater, ideal for small yards.
- Vermicomposting (worms): Works indoors or on balconies for kitchen scraps only.
Key supplies for starting composting at home
You don’t need expensive tools. A basic setup should include a bin, a pitchfork or aerator, and a kitchen scrap container. Optional: a thermometer to monitor temperature.
What to add to your compost (materials)
Good compost balances carbon rich “browns” and nitrogen rich “greens.” Mixing both ensures efficient decomposition and minimal odors.
- Greens (nitrogen): Vegetable scraps, coffee grounds, fresh grass clippings.
- Browns (carbon): Dry leaves, cardboard, paper, straw, small wood chips.
- Avoid: Meat, dairy, oily foods, diseased plants, and pet waste in most home bins.
How to build a basic compost pile at home
Start with a 6–12 inch layer of coarse browns to help airflow. Alternate layers of greens and browns. Aim for a roughly 2:1 or 3:1 volume ratio of browns to greens.
Keep the pile moist but not soggy. It should feel like a damp sponge. Turn or aerate the pile every 1–2 weeks to add oxygen and speed breakdown.
Turning and maintenance tips for home composting
Turning encourages aerobic microbes and prevents odor. Use a pitchfork or tumbler to mix materials thoroughly. If the pile cools, more turning and rebalancing of greens may be needed.
If the compost smells sour, add more browns and increase turning. If it’s dry and slow, add water and more greens.
Compost can reduce household waste by up to 30 percent, depending on diet and yard size. Rich compost improves soil water retention and reduces the need for chemical fertilizers.
How long before you have usable compost?
Composting timelines vary. With regular turning and good balance, expect finished compost in 2–6 months. Passive piles without turning can take a year or more.
Finished compost is dark, crumbly, and smells earthy. Large chunks or recognizable scraps mean it needs more time or additional mixing.
Using your home compost
Apply finished compost as a top dressing, soil amendment, or mix into potting soil. Typical uses include vegetable beds, flower borders, and lawn topdressing.
- Vegetable gardens: Mix 1–3 inches into beds before planting.
- Potted plants: Blend 10–30% compost into potting mix to improve nutrients and water retention.
Troubleshooting common home compost issues
Problem: Foul smells. Solution: Add more browns, increase aeration, and reduce wet food scraps.
Problem: Slow decomposition. Solution: Chop materials smaller, increase greens, and maintain moisture and warmth.
Problem: Fruit flies or pests. Solution: Bury food scraps under a brown layer or use a closed tumbler. Avoid adding meat.
Small real-world example: A balcony vermicompost setup
Case: Maria lives in a two-bedroom apartment with a small balcony. She used a two-drawer worm bin and a 2-gallon kitchen pail for scraps. After 3 months she had a steady supply of liquid worm tea and compost for potted herbs.
Key takeaways: Regular small feedings, keeping the bin in shade, and balancing cardboard with food scraps kept the system odor-free and productive.
Quick checklist to start composting at home
- Choose a method: bin, tumbler, or worm bin.
- Gather supplies: container, aerator, kitchen caddy.
- Collect materials: separate greens and browns.
- Build layers: start with browns, alternate greens and browns.
- Maintain moisture and turn regularly.
- Harvest finished compost and apply to soil.
Final tips for successful home composting
Start small and expand as you learn. Track what you add for a few weeks to balance materials. Be patient—composting is a natural process and improves with attention.
Composting at home is a practical step toward sustainability. It saves waste, enriches soil, and can be adapted to nearly any living situation.