
Start Composting at Home
Home composting turns kitchen scraps and yard waste into rich soil amendment. It reduces household waste and improves garden health without complex tools.
This guide covers practical, step-by-step advice for home composting for beginners. Follow these instructions to set up a simple system and avoid common mistakes.
Why Home Composting Matters
Home composting for beginners is an accessible way to reduce landfill waste and recycle nutrients. Food scraps and yard trimmings become usable compost that feeds plants and retains moisture.
Starting composting at home also saves money on soil and fertilizer. It supports healthier plants and a smaller household carbon footprint.
Benefits of Home Composting
- Reduces trash volume and disposal costs
- Creates nutrient-rich compost for gardens and potted plants
- Improves soil structure and water retention
- Reduces the need for chemical fertilizers
Basic Principles of Home Composting
Understanding a few core principles makes composting easier. The three essentials are carbon, nitrogen, and moisture balance.
Proper airflow, particle size, and the right mix of materials speed decomposition and prevent odors.
Balance Browns and Greens in Home Composting
“Greens” are nitrogen-rich materials like vegetable scraps and fresh grass clippings. “Browns” are carbon-rich materials like dry leaves, straw, and shredded paper.
Aim for a mix roughly three parts browns to one part greens by volume. Adjust as needed if the pile smells or is too dry.
How to Start Home Composting
Setting up a compost system can be simple and low-cost. Use a bin, a tumbler, or a designated pile in a corner of your yard.
Follow these steps to get started with home composting for beginners.
Step 1 Choose a Location and Container
- Pick a level, well-drained spot with some shade.
- Use a commercial bin, wire enclosure, wooden box, or an open pile depending on space and aesthetic.
- Ensure the container allows airflow and easy access for turning.
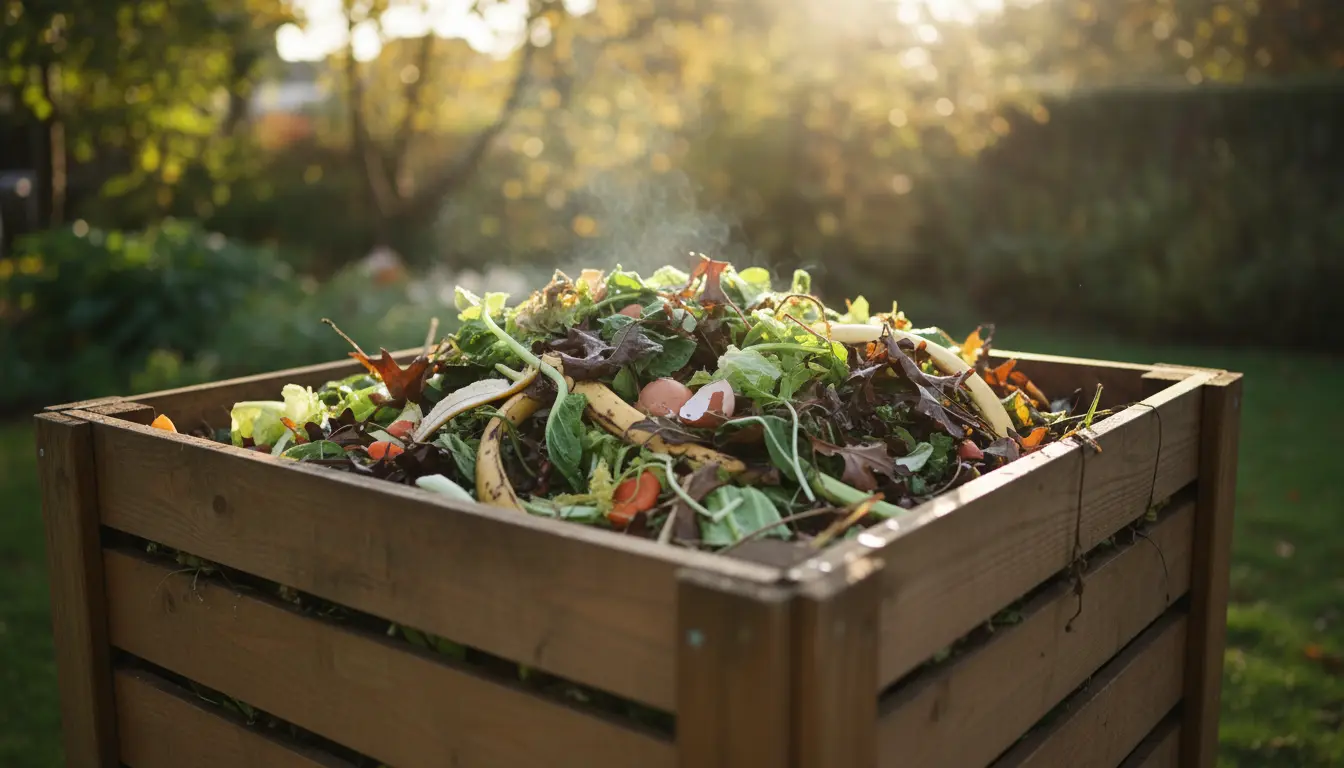
Step 2 Add Materials
Start with a layer of coarse browns like twigs to promote airflow. Alternate layers of greens and browns to build the pile.
Chop larger pieces to speed decomposition. Keep the pile at least 1 cubic foot to retain heat, ideally 3 feet wide for active composting.
Step 3 Maintain the Pile
- Keep the compost moist like a wrung-out sponge; water if it becomes dry.
- Turn the pile every 1–2 weeks to add oxygen and mix materials.
- If the pile smells, add more browns and turn more often.
What to Compost and What to Avoid
Knowing what to put in your bin prevents pests and unpleasant smells. Most kitchen and garden waste is safe, but avoid problem items.
Acceptable Materials for Home Composting
- Fruit and vegetable scraps, coffee grounds, tea bags
- Eggshells, shredded paper, cardboard, dry leaves
- Grass clippings, plant trimmings, sawdust from untreated wood
Materials to Avoid in Home Composting
- Meat, dairy, oils, and bones (attract pests)
- Diseased plants and invasive weeds that may survive
- Pet waste from carnivores and treated wood products
Troubleshooting Home Composting Problems
Common issues are easy to fix with small adjustments. Odors usually mean too much moisture or too many greens.
Slow decomposition can result from large pieces, low temperature, or lack of nitrogen. Chop, add warm greens, and turn more often.
Quick Fixes
- Bad smell: add dry browns and turn the pile.
- Dry pile: moisten evenly and mix in greens.
- Pests: cover food scraps with browns or use a closed bin.
Compost can reach internal temperatures of 130 to 160°F when managed well, killing many weed seeds and pathogens. Cold composting still produces good material but takes longer.
Small Real-World Example
Case study: A small apartment balcony gardener started a 20‑liter tumbling composter. They added shredded paper and kitchen scraps, turned it twice weekly, and kept it moist.
After three months the gardener had rich, crumbly compost used to top-dress potted herbs. Waste to the landfill dropped by about 30 percent for that household.
Finishing and Using Your Compost
Finished compost is dark, crumbly, and earthy smelling. Sift out large pieces and store the compost in a covered bin until use.
Use finished compost as a soil amendment, top dressing, or in potting mixes at up to 20 percent by volume for seedlings and container plants.
Get Started with Home Composting for Beginners
Begin with a small, manageable system and expand as you gain confidence. Keep the balance of browns and greens, maintain moisture, and turn regularly.
Start today by collecting kitchen scraps in a container and adding them to a prepared bin. Over time you’ll build nutrient-rich compost and a simpler, greener routine.