
Why Home Composting Matters
Home composting turns kitchen scraps and yard waste into a valuable soil amendment. It reduces household waste, lowers landfill methane emissions, and improves garden soil structure.
This guide explains practical steps to start composting at home, with clear materials lists, bin options, and simple troubleshooting tips.
Home Composting Basics
At its core, composting is the controlled decomposition of organic material by microbes. You balance carbon rich “browns” with nitrogen rich “greens” to create conditions where microbes thrive.
There are two main methods suitable for beginners: slow cold composting and faster hot composting. Choose one based on how much time and space you have.
Key Home Composting Terms
- Greens: Nitrogen-rich items (kitchen scraps, fresh grass clippings).
- Browns: Carbon-rich items (dry leaves, shredded paper, straw).
- Carbon to Nitrogen Ratio (C:N): Ideal mix is roughly 25–30:1 overall.
What You Need to Start Home Composting
Begin with simple tools and a consistent collection routine. You do not need expensive equipment.
- A container or bin (open pile, tumbler, or plastic bin).
- Kitchen caddy for scraps (keeps convenience high).
- Pitchfork or garden fork for turning.
- Optional: thermometer for hot composting.
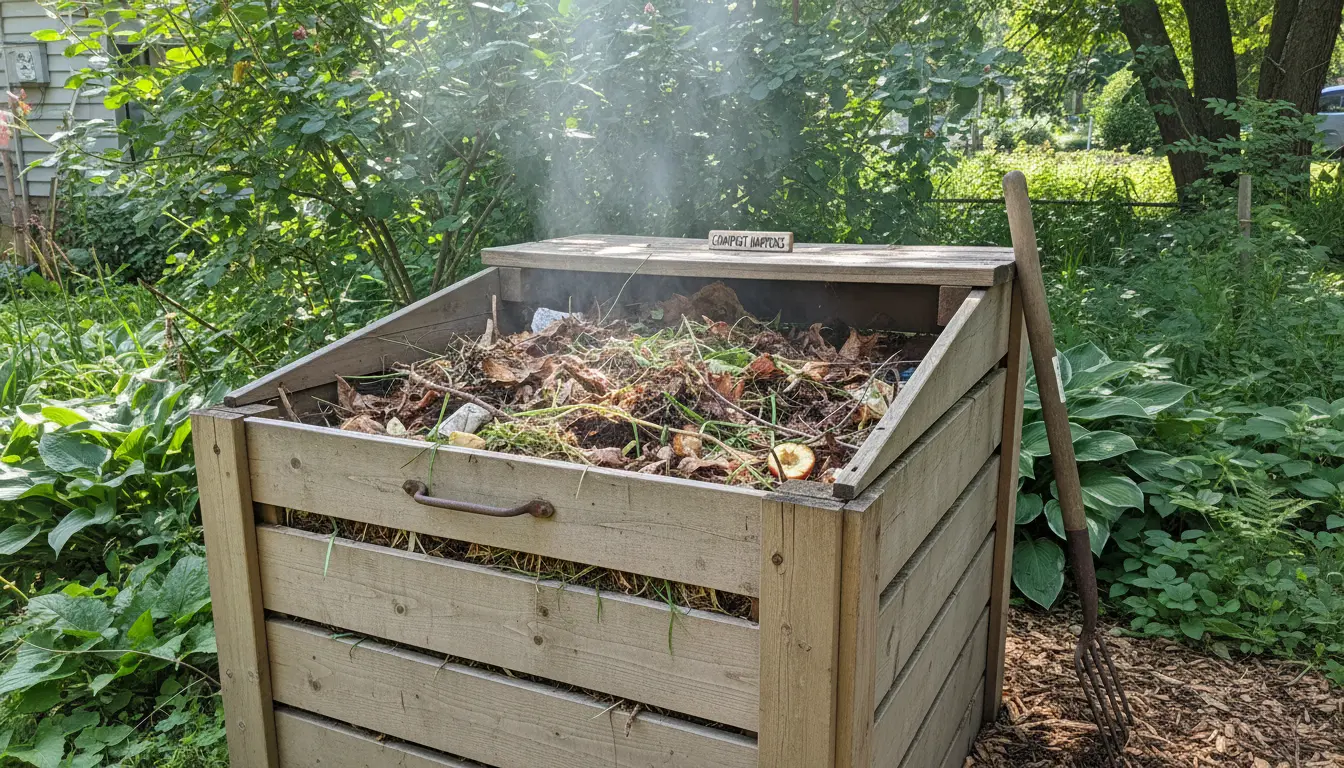
Choosing a Bin for Home Composting
Pick a bin based on space and desired speed.
- Open pile: Low cost, needs more space, works well for yard waste.
- Compost tumbler: Faster and neater; good for small yards.
- Closed bin or plastic container: Controls pests and moisture better.
Step-by-Step Home Composting Process
- Start with a base layer of coarse browns (small branches or straw) to aid airflow.
- Add kitchen greens and cover with a brown layer each time you add scraps.
- Maintain a roughly 2:1 ratio of browns to greens by volume for cold composting; adjust for hot composting.
- Keep the pile moist like a wrung-out sponge; water occasionally in dry weather.
- Turn or aerate regularly — every 1–2 weeks for faster compost, or every 4–6 weeks for slower piles.
Monitoring Temperature and Moisture
For hot composting, target 130–160°F (55–70°C) to kill seeds and pathogens. Use a thermometer if you want to optimize speed.
Moisture should allow crumbles to form when squeezed. If it’s too wet, add browns; if too dry, add water or more greens.
Composting one ton of organic waste can save roughly 0.5 to 1.0 metric tons of CO2 equivalent from landfill methane emissions, depending on local waste management.
Common Materials: What to Add and Avoid
Knowing what to include prevents odors and pests.
Safe Materials for Home Composting
- Fruit and vegetable scraps
- Eggshells (crushed)
- Yard waste: leaves, grass clippings, small prunings
- Shredded paper, cardboard, and coffee grounds
Materials to Avoid
- Meat, fish, and oily foods (attract pests)
- Diseased plants or invasive weeds with seeds
- Dairy products and pet waste
Troubleshooting Common Issues
Problems are usually signs of imbalance. Fix them quickly with simple adjustments.
- Bad odors: Add more browns and turn the pile to add air.
- Pile not heating: Increase greens, reduce browns, and turn more often.
- Pests: Use a closed bin, bury food scraps deep, or add a layer of browns after each addition.
How to Tell When Compost Is Ready
Finished compost looks dark, crumbly, and earthy-smelling. It should no longer look like the original materials and will be cool to the touch.
Small Real-World Case Study
Case Study: A two-person household in a small suburban home switched to a 60-gallon tumbler. They collected kitchen scraps in a counter caddy and added dry leaves from the yard.
Within four months they produced rich compost used on container vegetables. They reduced their kitchen waste by about 65% and reported less frequent trash removal. The family found the tumbler reduced odors and required only monthly turning.
Using Finished Compost in Your Garden
Spread finished compost as a 1–2 inch top dressing on lawns or mix into planting beds as a 10–25% amendment by volume. Compost improves water retention, nutrient availability, and soil structure.
Examples of use:
- Vegetable beds: Mix into top 6–8 inches of soil before planting.
- Potting mixes: Replace a portion of commercial mix to add microbes.
- Lawn: Topdress thinly in spring or fall.
Final Tips for Successful Home Composting
- Keep a small sink-side caddy to make composting habitual.
- Shred or chop larger materials to speed decomposition.
- Rotate or add new piles as you fill one; this keeps production steady.
- Join local composting groups or city programs for additional resources.
Starting home composting requires little equipment and pays back with healthier soil and less household waste. Begin with one bin, learn by doing, and adjust as your household’s needs change.