
Why Grow Microgreens at Home
Growing microgreens at home is a fast, space-efficient way to add fresh flavor and nutrition to meals. Microgreens mature in 7–21 days, making them ideal for beginners and busy households.
This guide explains the simple steps to grow microgreens at home, from seed selection to harvest and storage. Use these instructions to set up a reliable small-scale crop in any kitchen or apartment.
What You Need to Grow Microgreens at Home
Start with a few basic supplies that are inexpensive and reusable. Most items are available online or at garden centers.
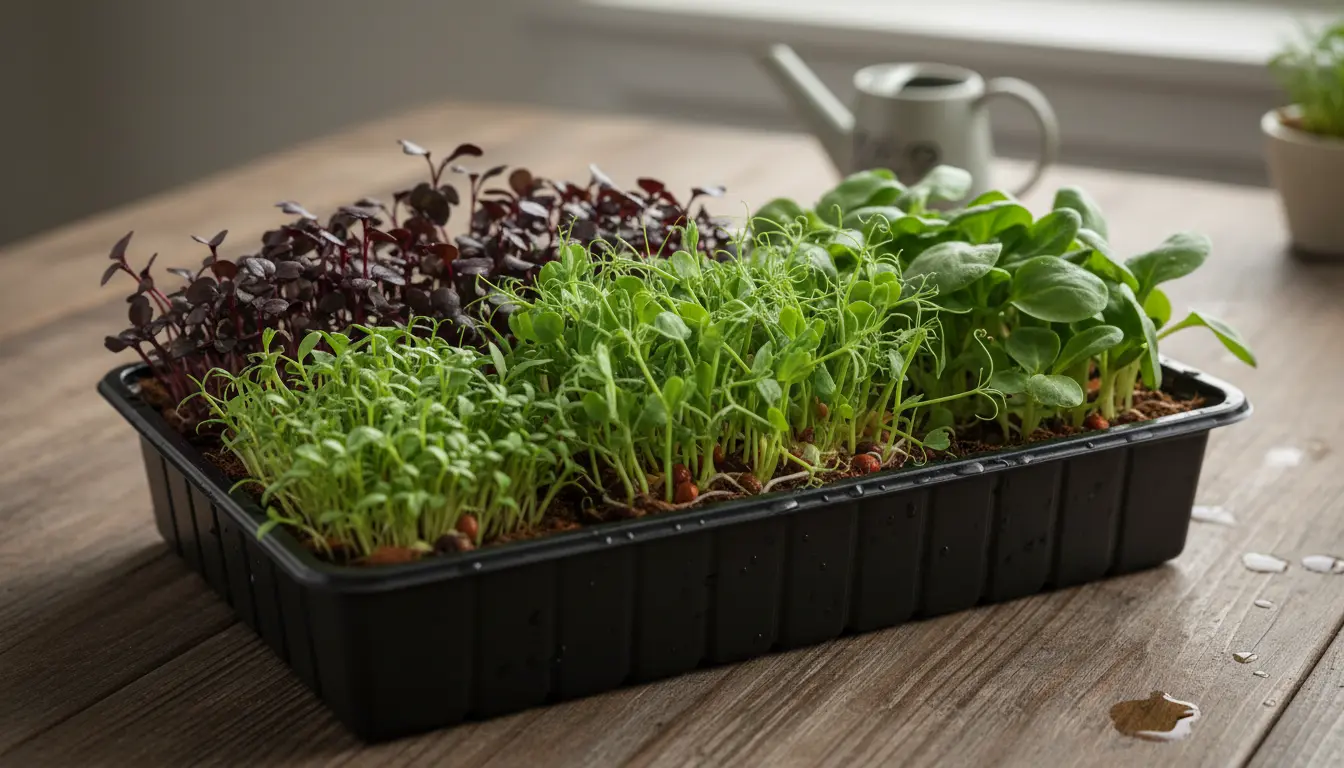
- Shallow trays or seed flats with drainage
- Quality seeds labeled for microgreens (e.g., radish, sunflower, pea, broccoli)
- Growing medium such as potting mix, coco coir, or seed-starting mats
- Spray bottle for gentle watering
- Good light source: sunny windowsill or LED grow light
How to Grow Microgreens at Home: Step-by-Step
Follow these clear steps to establish a crop. Each step takes little time and can be repeated weekly for a continuous supply.
1. Choose Seeds and Growing Medium
Pick seeds labeled for microgreens when possible. Popular options include radish, kale, arugula, sunflower, and pea. These are fast, flavorful, and reliable.
Use a sterile seed-starting mix or coco coir to reduce disease risk. Fill trays 1–1.5 inches deep and level the surface for even germination.
2. Sow Seeds Evenly
Broadcast seeds across the surface to achieve a dense, even stand. Aim for light coverage—too many seeds can trap moisture and cause mold.
Press seeds gently into the medium and cover lightly with a thin layer or leave uncovered depending on seed size. Large seeds like sunflower benefit from light coverage; tiny seeds can remain exposed.
3. Provide Proper Moisture
Keep medium consistently moist but not waterlogged. Use a spray bottle twice daily until seeds germinate to avoid disturbing them.
After germination, water from the tray bottom or spray gently to keep leaves hydrated. Good air circulation lowers mold risk.
4. Light and Temperature
Microgreens need light once they sprout. Place trays on a sunny south- or west-facing windowsill or under an LED grow light for 12–16 hours daily.
Maintain a temperature of 65–75°F (18–24°C) for steady growth. Cooler temps slow development; warmer temps speed it up but can stress tender leaves.
5. Harvesting Microgreens at Home
Harvest when the first true leaves appear, typically 7–21 days depending on variety. Use scissors to cut stems just above the soil line.
Harvest in the morning when plants are hydrated for best crispness. Store harvested microgreens in a breathable container in the refrigerator for up to one week.
Common Problems and Solutions When You Grow Microgreens at Home
Minor issues are common but fixable. Identifying the problem quickly preserves the crop.
- Mold: Improve airflow, reduce humidity, and avoid over-seeding.
- Leggy sprouts: Provide more direct light or move lights closer (but not touching).
- Slow germination: Check seed freshness and maintain consistent moisture and temperature.
Did You Know?
Microgreens can contain 4 to 40 times the nutrients of mature greens by weight, depending on the variety. They are nutrient-dense and harvested at a tender stage when vitamins and antioxidants are concentrated.
Practical Tips to Improve Yield When You Grow Microgreens at Home
Small adjustments make a big difference in quality and yield. Experiment and track results for the best routine.
- Rotate trays for even light exposure.
- Sow multiple trays in staggered intervals for continuous harvests.
- Sanitize trays between uses to prevent disease build-up.
- Label trays with seed type and sow date to monitor timing.
Small Case Study: How a Home Cook Grew Microgreens at Home
Jane, a home cook in a one-bedroom apartment, started growing microgreens on a south-facing windowsill. She used recycled shallow trays and radish and sunflower seeds to begin.
Within two weeks, Jane harvested her first tray and integrated the microgreens into salads and sandwiches. By staggering plantings every 7 days, she maintained a steady supply and cut produce costs while adding fresh flavor to meals.
Simple Weekly Schedule to Grow Microgreens at Home
Use this basic schedule to keep a rotating harvest that supplies fresh greens all month.
- Week 1: Sow tray A (radish). Keep moist until germination.
- Week 2: Sow tray B (sunflower). Move tray A to light.
- Week 3: Harvest tray A. Sow tray C (pea). Move tray B to light.
- Week 4: Harvest tray B. Repeat cycle for continuous supply.
Final Notes on Growing Microgreens at Home
Growing microgreens at home is low-cost, quick, and rewarding. With minimal equipment and weekly care, you can enjoy nutrient-rich greens year-round.
Start with one or two varieties, learn their needs, and expand as you gain confidence. The key is consistent moisture, adequate light, and good hygiene to prevent problems.