
Home composting for beginners is a practical way to reduce kitchen waste and produce rich soil for gardens. This guide walks through simple steps to set up a compost bin, the materials to use, and routine maintenance that keeps the process efficient.
Why Home Composting for Beginners Is Worth Doing
Composting diverts organic waste from landfills and returns nutrients to soil. It saves money on fertilizer and supports healthier plants without chemicals.
Beginners can start small with a bin or tumbler and expand as they learn what works in their climate and household.
Choose the Right System for Home Composting for Beginners
Selecting a bin type depends on space, effort, and budget. Common options include a plastic tumblers, stationary bins, and worm composters for indoor use.
- Indoor worm bin: Best for apartments and kitchen scraps.
- Tumbler: Speeds up composting and simplifies turning.
- Stationary bin or pile: Low cost and good for yards with space.
Location and Size
Place the bin on soil or grass for worm and microbial access. Choose a shaded spot to avoid drying or overheating.
Start with a 50- to 100-gallon bin for a family of two to four. Smaller bins can work but may require more attention.
Materials: What to Add and What to Avoid
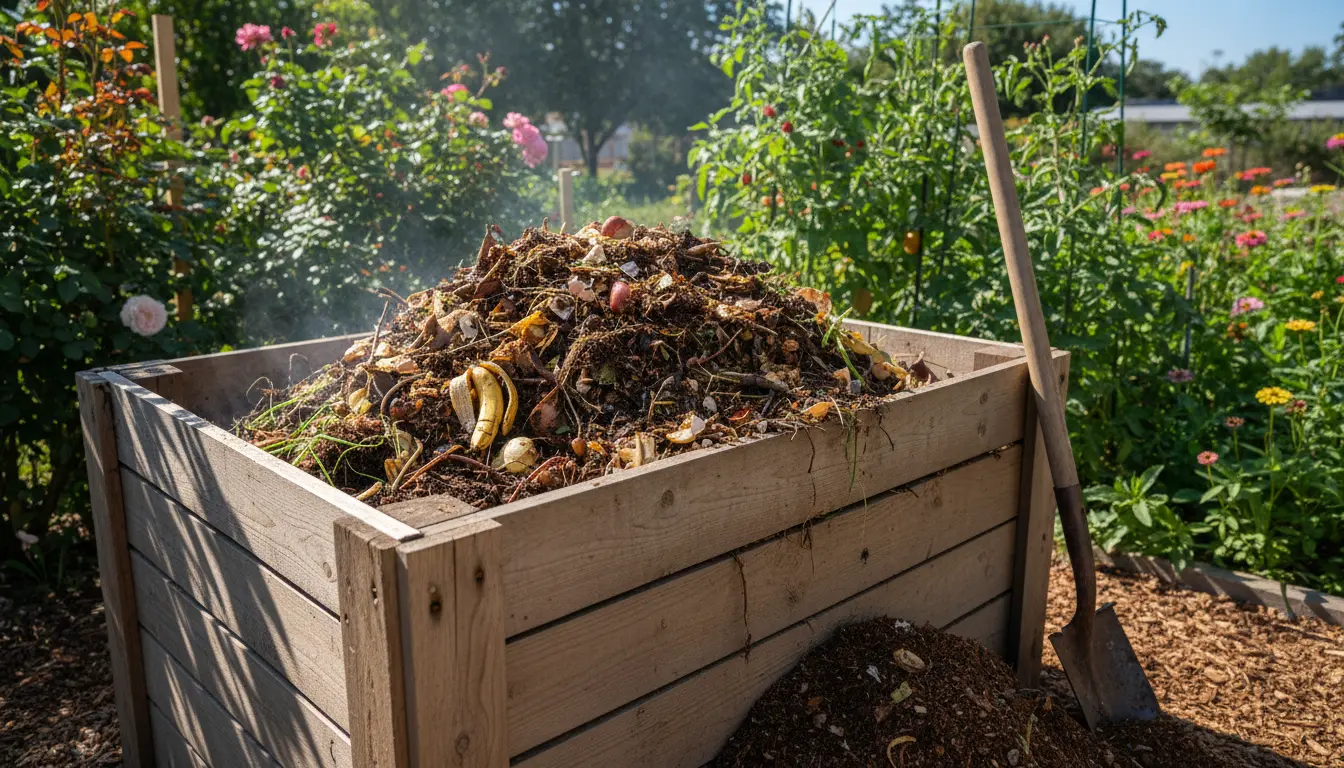
Understanding greens and browns is crucial for home composting for beginners. Greens provide nitrogen while browns provide carbon.
- Greens (wet, nitrogen-rich): vegetable scraps, fruit peels, coffee grounds, fresh grass clippings.
- Browns (dry, carbon-rich): shredded paper, dry leaves, cardboard, straw, wood chips.
Avoid adding meat, dairy, diseased plants, and oily foods in most backyard systems because they attract pests and slow decomposition.
Simple Mixing Rule
Aim for roughly a 2:1 or 3:1 ratio of browns to greens by volume. Layer materials and cover greens with a brown layer to reduce odors and flies.
Step-by-Step Setup for Home Composting for Beginners
- Prepare the base: Add a 3-4 inch layer of coarse browns or twigs for airflow.
- Add materials in layers: Alternate greens and browns as you add waste.
- Monitor moisture: The pile should feel like a wrung-out sponge.
- Turn regularly: Use a pitchfork or spin the tumbler every 1-2 weeks.
Turning mixes oxygen into the pile and speeds up decomposition. If you use a worm bin, avoid frequent turning; worms prefer a stable environment.
Maintenance and Troubleshooting
Consistent checks prevent common problems. Address issues early with simple fixes.
Common Problems and Solutions
- Bad odor: Add more browns and turn the pile to aerate it.
- Slow breakdown: Shred large pieces, maintain moisture, and increase turning frequency.
- Pests: Bury food scraps within the pile, add a secure lid, or use an enclosed tumbler.
- Too dry: Add water while turning or add moist greens.
When Is Compost Ready?
Finished compost is dark, crumbly, and smells earthy. Particle size is small and original materials are unrecognizable.
Indoor worm compost may be ready in 2-4 months. Hot composting in a well-managed tumbler can finish in 1-3 months. Backyard piles may take 6-12 months depending on conditions.
Using Finished Compost
Apply finished compost as a top dressing, mix into potting soil, or work into garden beds. It improves soil structure, water retention, and nutrient content.
- Vegetable beds: Mix 1-3 inches of compost into topsoil each season.
- Container plants: Replace 10-30% of potting mix with compost.
- Lawn: Lightly rake compost over the grass to add nutrients.
Composting one pound of food waste can prevent about 0.5 pounds of CO2 equivalent greenhouse gas emissions compared to landfilling the same waste.
Real-World Example: Small Home Case Study
Case study: A two-person household in Seattle started a 65-gallon tumbler and a small worm bin in spring. They added kitchen scraps and yard trimmings and followed a 2:1 browns to greens rule.
After four months of regular turning and moisture checks, they produced enough compost to enrich two raised garden beds. The result was better tomato yields and fewer fertilizer purchases.
Quick Checklist for Home Composting for Beginners
- Choose bin type: tumbler, stationary bin, or worm bin.
- Keep a balance of greens and browns.
- Monitor moisture and aerate by turning regularly.
- Troubleshoot odors, pests, and slow decomposition quickly.
- Harvest finished compost when dark and crumbly.
Home composting for beginners is low-cost and scalable. Start with a simple system and adjust as you gain experience. With consistent care, you will turn everyday organic waste into a valuable resource for healthier soil.