
How to Start Composting at Home: Basics
Composting at home turns kitchen and garden waste into useful soil amendment. This guide explains straightforward steps, common tools, and simple troubleshooting so you can begin composting with confidence.
Why composting at home matters
Composting reduces landfill waste and returns nutrients to soil. It also lowers household waste costs and supports healthier garden growth.
Choose a Method for Composting at Home
Pick a method that fits your space and lifestyle. Small balconies, yards, and apartment setups all have workable options.
Common methods
- Cold pile: Low-effort, slower decomposition suitable for yards.
- Hot composting: Faster results by managing carbon to nitrogen and turning regularly.
- Tumbler bin: Enclosed unit that’s tidy and easier to turn.
- Bokashi: Fermentation method for indoor use, including meat and dairy.
- Vermicomposting: Uses worms for indoor or small-space composting.
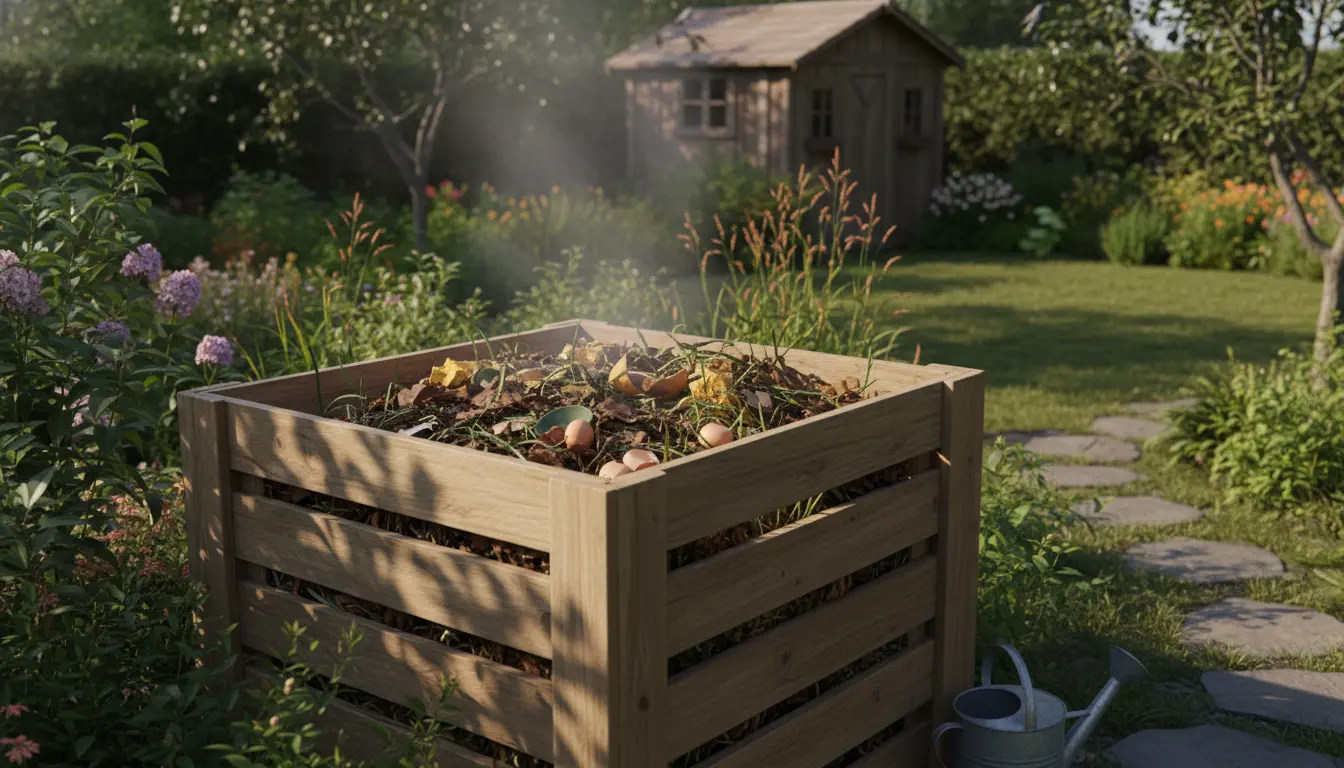
Set Up Your Bin and Location
Select a container and place it where collection and maintenance are convenient. Consider access to water, sun, and distance from living areas.
Required items
- Compost bin or designated pile area
- Kitchen collection caddy with a lid
- Pitchfork or compost aerator
- Optional: thermometer for hot composting
Manage Materials: What to Add and Avoid
Compost needs a mix of carbon-rich and nitrogen-rich materials. Balance and moisture are key to steady decomposition.
What to add
- Greens (nitrogen): fruit and vegetable scraps, coffee grounds, fresh grass clippings.
- Browns (carbon): dry leaves, shredded paper, cardboard, straw.
- Small amounts of garden trimmings and finished compost to inoculate a new pile.
What to avoid
- Meat, bones, dairy, and oily foods in open outdoor piles (unless using Bokashi).
- Diseased plants or invasive weeds that can survive the compost process.
- Pet waste from carnivores unless composting at high temperatures for extended periods.
Step-by-Step: How to Start Composting at Home
Follow these simple steps to begin. The sequence helps the pile heat and decompose efficiently when using a hot-compost approach.
Step 1: Build a base
Add coarse brown materials like small branches or straw to the bottom for airflow. This layer helps drainage and reduces odor.
Step 2: Alternate layers
Layer greens and browns in roughly equal volumes. A general rule is 2–3 parts brown to 1 part green by volume for balanced decomposition.
Step 3: Keep it moist and aerated
Moisture should feel like a wrung-out sponge. Turn the pile every 1–2 weeks for hot composting; less often for cold piles or tumblers.
Troubleshoot Common Problems
Composting problems are usually easy to fix by adjusting air, moisture, or material mix. Below are common issues and quick solutions.
Bad smell
- Cause: Too wet or too many greens.
- Fix: Add browns, turn the pile, improve drainage.
Slow decomposition
- Cause: Lack of nitrogen, moisture, or small surface area.
- Fix: Add green materials, water lightly, shred or chop materials.
Did You Know?
Composting can reduce household waste volume by up to 30 to 50 percent, depending on diet and yard waste habits.
Real-World Example: A Small Balcony Case Study
Emma, a renter with a small balcony, started a worm bin and kitchen caddy. She collected only fruit and vegetable scraps and added shredded office paper as bedding.
After three months she harvested about 15 liters of rich vermicompost. She used it to top-dress potted herbs and saw improved growth and water retention.
Simple Weekly Routine for Composting at Home
- Empty kitchen caddy into bin 2–3 times per week.
- Check moisture and add water or dry browns as needed.
- Turn the pile or rotate tumbler weekly for hot composting.
- Harvest finished compost and use it in pots or garden beds.
Final Tips for Success
Start small and learn by doing; composting is forgiving and scalable. Keep notes on what you add and how the pile behaves to refine your mix and timing.
With consistent attention to balance and aeration, composting at home becomes a low-effort routine that benefits your garden and the planet.